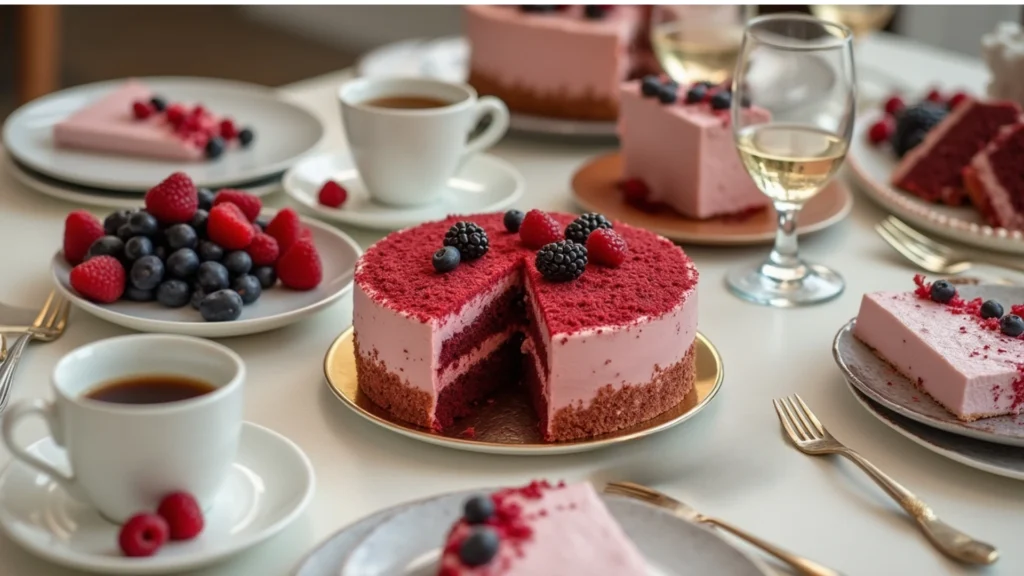
Imagine slicing into a luscious, velvety red cake with layers so moist they practically melt in your mouth. The tangy cream cheese frosting complements the cake’s subtle cocoa notes, creating a dessert experience that’s nothing short of heavenly. This is the magic of the original red velvet cake recipe, a timeless treat that has captivated dessert lovers for decades.
I still remember the first time I baked a red velvet cake—the vibrant red hue, soft crumb, and perfectly balanced sweetness instantly made it my go-to celebration dessert. The process of following an easy red velvet cake recipe allowed me to create a bakery-worthy masterpiece right in my own kitchen. Whether for birthdays, holidays, or a casual treat, red velvet cake remains a show-stopping dessert.
The history of red velvet cake is as intriguing as its flavor. While some trace the original red velvet cake recipe back to the 1920s in the United States, others believe it was inspired by Canadian recipes from the 19th century. Regardless of its origin, the combination of cocoa powder, buttermilk, and a touch of vinegar makes this cake truly special. When paired with the right frosting—such as the smooth and rich velvet cake icing—it’s hard to resist its charm.
In this guide, we’ll walk you through every step of creating a moist red velvet cake recipe. From tips on ingredient selection to perfecting your technique, you’ll discover how to achieve a dessert that’s as delicious as it is visually stunning. With this red velvet cake recipe, even beginner bakers can impress their guests. So, grab your apron, and let’s get started on this irresistible baking journey!
Quick Recipe Card
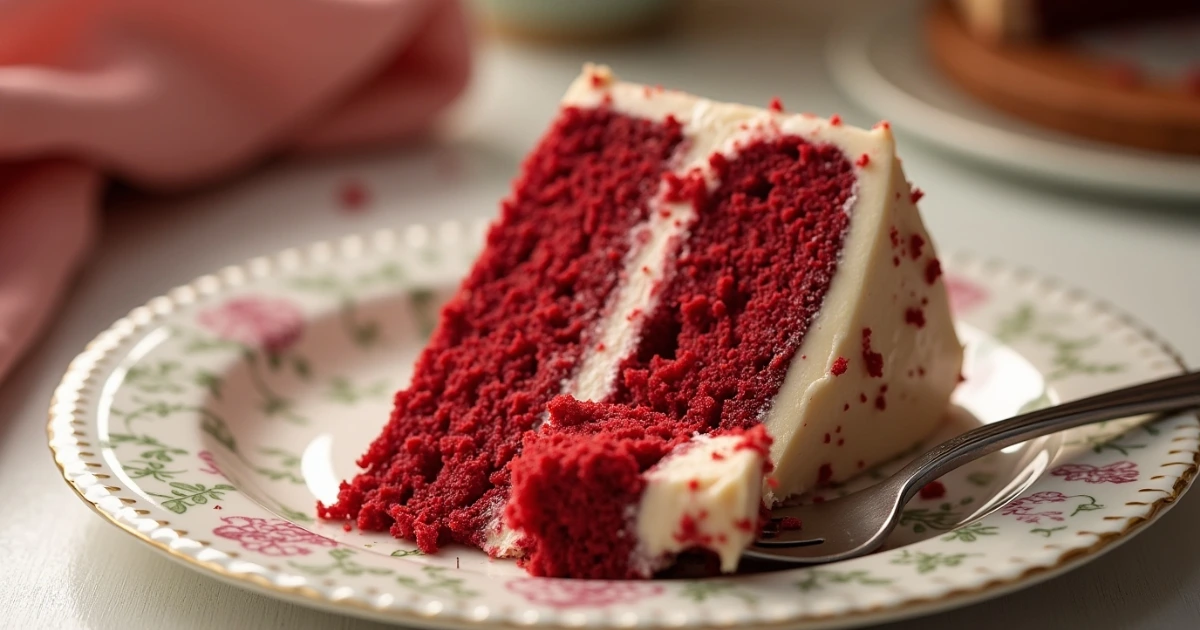
Prep Time: 20 minutes
Cook Time: 35 minutes
Total Time: 55 minutes
Difficulty Level: Easy to Intermediate
Servings: 10-12 slices
Nutritional Information (Per Serving)
- Calories: 350
- Protein: 4g
- Carbohydrates: 42g
- Fat: 18g
Equipment Needed
- Mixing bowls
- Electric mixer (or hand whisk)
- 9-inch round cake pans (x2)
- Cooling racks
- Offset spatula or knife for frosting
Ingredients
For the Cake:
- 2 ½ cups (310g) all-purpose flour
- 2 cups (400g) granulated sugar
- 1 tsp baking soda
- 1 tsp salt
- 1 tsp cocoa powder
- 1 ½ cups (360ml) vegetable oil
- 1 cup (240ml) buttermilk, room temperature
- 2 large eggs
- 2 tbsp red food coloring
- 1 tsp distilled white vinegar
- 2 tsp vanilla extract
For the Velvet Cake Icing:
- 16 oz (450g) cream cheese, softened
- ½ cup (115g) unsalted butter, softened
- 4 cups (480g) powdered sugar
- 1 tsp vanilla extract
Instructions
- Preheat your oven to 350°F (175°C). Prepare two 9-inch round cake pans by greasing them thoroughly and lightly dusting with flour. This prevents the cake from sticking and ensures easy removal.
- In a large mixing bowl, whisk together the flour, sugar, baking soda, salt, and cocoa powder.
- In a separate bowl, mix the oil, buttermilk, eggs, food coloring, vinegar, and vanilla extract. Slowly add the wet ingredients to the dry ones, stirring until the batter is smooth.
- Pour the batter evenly into the prepared pans. Bake for 30-35 minutes or until a toothpick inserted into the center comes out clean.
- Let the cakes cool in their pans for 10 minutes, then transfer them to wire racks to cool completely.
- To make the frosting, beat the cream cheese and butter together until smooth. Gradually add powdered sugar and blend in the vanilla extract.
- Spread the icing between the cake layers, then over the top and sides for a smooth finish.
Enjoy this classic original red velvet cake recipe that’s both stunning and delicious!
Ingredient Deep Dive
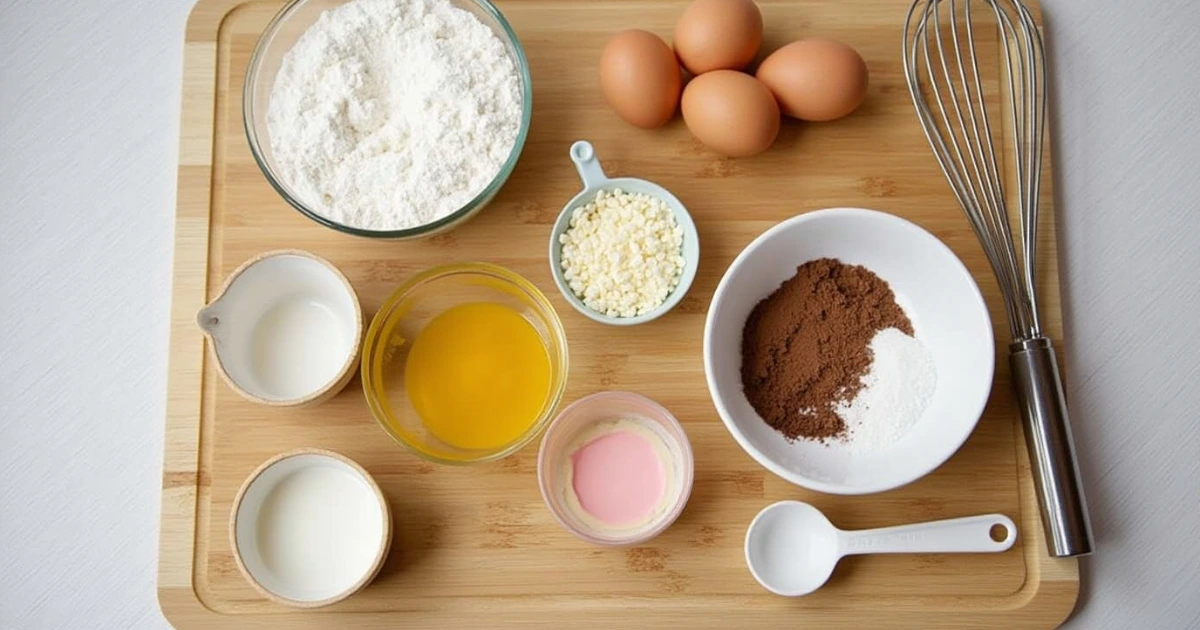
A good original red velvet cake recipe starts with the perfect blend of ingredients. Let’s explore why each component is essential and how you can make substitutions when needed.
Flour
The red velvet cake’s soft and tender texture is achieved with all-purpose flour as the base. To ensure an even texture, sift the flour before measuring. For a gluten-free option, replace the flour with a 1:1 gluten-free baking blend.
Sugar
Granulated sugar adds sweetness and helps create a moist cake. For a richer flavor, you can replace part of the granulated sugar with light brown sugar.
Cocoa Powder
Though subtle, the cocoa powder in this moist red velvet cake recipe is vital. It gives the cake its signature reddish-brown hue when combined with food coloring and acidic ingredients. Use unsweetened cocoa powder for optimal flavor.
Buttermilk
Buttermilk is a star ingredient in this easy red velvet cake recipe. Its acidity reacts with baking soda to create a light and fluffy texture. If buttermilk isn’t available, make a substitute by combining 1 cup of milk with 1 tablespoon of vinegar or lemon juice.
Eggs
Eggs bind the ingredients together while adding richness. Always use large, room-temperature eggs for smoother mixing and a consistent bake.
Red Food Coloring
The iconic red hue of an original red velvet cake recipe comes from liquid or gel food coloring. Opt for a high-quality brand to achieve vibrant results without altering the flavor.
Vinegar
A small amount of vinegar may seem unusual, but it’s a crucial component. It enhances the cake’s tenderness by interacting with the baking soda and buttermilk.
Vanilla Extract
Pure vanilla extract rounds out the flavors in this red velvet cake recipe, adding warmth and depth.
Cream Cheese
For the frosting, cream cheese creates a tangy, velvety base. Use full-fat cream cheese for the creamiest texture in your velvet cake icing.
Butter
Unsalted butter complements the cream cheese in the icing, balancing its tanginess with a smooth, rich finish.
Powdered Sugar
The powdered sugar in the frosting adds sweetness while maintaining a silky texture. Sift the sugar to avoid lumps.
Substitutions and Storage Tips
- For a dairy-free version, use almond milk with a splash of vinegar and a vegan butter alternative.
- Store any leftover cake in an airtight container in the refrigerator to keep it fresh for up to 5 days. You can also freeze the cake layers for up to 3 months before frosting them.
By carefully selecting and preparing these ingredients, your original red velvet cake recipe will turn out perfectly every time.
Equipment Needed
To create the perfect original red velvet cake recipe, having the right tools at hand makes all the difference. Here’s a detailed look at the essential equipment for this baking masterpiece and their roles in the process.
Essential Tools
- Mixing Bowls
Use a set of sturdy mixing bowls in various sizes to combine wet and dry ingredients separately. Non-slip bases can help make mixing easier. - Hand Mixer or Stand Mixer
A reliable hand mixer or stand mixer ensures your batter is well-blended without overmixing. A stand mixer is particularly useful when making the cream cheese frosting for your velvet cake icing. - Measuring Cups and Spoons
Accurate measurements are crucial in baking. Use both dry and liquid measuring cups for precision, ensuring a consistent result for your easy red velvet cake recipe. - Rubber Spatula
A flexible rubber spatula is perfect for scraping down the sides of the bowl and folding ingredients gently. - 9-Inch Cake Pans
You’ll need two or three round 9-inch cake pans to create even layers for your moist red velvet cake recipe. Opt for nonstick pans or use parchment paper to prevent sticking. - Cooling Racks
Cooling racks allow air to circulate around the cake layers, preventing sogginess and ensuring a perfect finish.
Alternative Options
- If you don’t have a stand mixer, a whisk and some elbow grease can substitute. Just be cautious not to overmix.
- Springform pans can be used in place of traditional cake pans, but ensure they’re lined to avoid leaks.
Care and Maintenance Tips
- Clean your mixing tools and cake pans immediately after use to prevent batter and frosting from hardening.
- Regularly check your mixer attachments for signs of wear and tear to maintain their effectiveness.
Budget vs. Premium Options
- Budget: Silicone spatulas, basic aluminum cake pans, and entry-level hand mixers are affordable and effective.
- Premium: Opt for stainless steel mixing bowls, high-quality nonstick pans, and a professional-grade stand mixer for durability and superior results.
Having the proper equipment on hand ensures a seamless baking experience, making your original red velvet cake recipe both enjoyable and stress-free.
Step-by-Step Instructions
Baking the original red velvet cake recipe requires precision and care to achieve its signature velvety texture and striking red hue. Follow these detailed steps to craft a stunning dessert that will leave everyone in awe.
Step 1: Preheat the Oven
- Set the Temperature: Preheat your oven to 350°F (175°C). This ensures even baking for your red velvet cake recipe.
- Prepare Cake Pans: Grease two or three 9-inch cake pans and line the bottoms with parchment paper for easy removal.
Step 2: Combine Dry Ingredients
- Sift Together: In a medium bowl, sift 2 ½ cups of all-purpose flour, 1 teaspoon of baking powder, 1 teaspoon of salt, and 2 tablespoons of cocoa powder. Sifting eliminates lumps and blends the ingredients seamlessly.
- Set Aside: Keep the bowl aside for later use.
Step 3: Mix Wet Ingredients
- Cream Butter and Sugar: In a large bowl, beat ½ cup of softened unsalted butter and 1 ½ cups of granulated sugar using a hand or stand mixer. Mix until light and fluffy.
- Add Eggs: Beat in two large eggs, one at a time, ensuring each is fully incorporated before adding the next.
- Add Vanilla and Buttermilk: Stir in 1 teaspoon of vanilla extract and 1 cup of buttermilk to enhance the flavor.
Step 4: Create the Red Velvet Mixture
- Add Food Coloring: Mix 2 tablespoons of red food coloring with 1 teaspoon of white vinegar. Gradually add this mixture to the wet ingredients, ensuring the vibrant red color is evenly distributed.
- Combine Wet and Dry: Alternately add the dry ingredients to the wet ingredients, mixing gently after each addition. Overmixing can cause the cake to become dense and less tender.
Step 5: Prepare the Batter for Baking
- Activate Leavening Agent: In a small bowl, mix 1 teaspoon of baking soda with 1 teaspoon of vinegar. Quickly fold this into the batter. The reaction creates air bubbles that help your moist red velvet cake recipe rise perfectly.
- Pour into Pans: Divide the batter evenly among the prepared cake pans, smoothing the tops with a spatula.
Step 6: Bake the Cake
- Place in Oven: Bake for 25-30 minutes, or until a toothpick inserted in the center comes out clean.
- Cool the Layers: Allow the cakes to cool in their pans for 10 minutes before transferring them to a cooling rack.
Step 7: Make the Cream Cheese Frosting
- Beat Cream Cheese and Butter: In a large bowl, beat 8 ounces of cream cheese and ½ cup of unsalted butter until smooth.
- Add Sugar and Vanilla: Gradually add 3 cups of powdered sugar and 1 teaspoon of vanilla extract, beating until light and fluffy.
- Adjust Consistency: If needed, add 1-2 teaspoons of milk to achieve the desired consistency.
Step 8: Assemble the Cake
- Level the Layers: Use a serrated knife to trim the tops of the cake layers if they are uneven.
- Layer with Frosting: Assemble the cake by placing one layer on a serving plate, spreading frosting generously, and layering the remaining cake on top.
- Frost the Exterior: Use an offset spatula to frost the top and sides of the cake, smoothing for a polished finish.
Step 9: Add Final Touches
- Decorate: Sprinkle cake crumbs or pipe decorative designs with leftover frosting.
- Chill: Refrigerate the cake for 30 minutes to set the frosting.
By following these step-by-step instructions, your easy red velvet cake recipe will turn out as delicious as it is visually stunning.
Expert Tips and Tricks

To elevate your original red velvet cake recipe to professional standards, here are some invaluable insights from seasoned bakers:
Achieving the Perfect Texture
- Room Temperature Ingredients: Always use room temperature butter, eggs, and buttermilk to ensure a smooth batter and even texture.
- Don’t Overmix: Overmixing the batter can develop gluten, making your cake dense instead of soft and velvety.
- Measure Accurately: Use a kitchen scale for precise measurements, especially for flour and sugar, to maintain the ideal balance in your red velvet cake recipe.
Ensuring the Vibrant Red Hue
- Choose the Right Cocoa: Use natural unsweetened cocoa powder to enhance the red color without overpowering it.
- Use Quality Food Coloring: Opt for gel-based food coloring to achieve a bold red color with minimal liquid, preventing a watery batter.
- Balance Acidity: The vinegar and buttermilk not only contribute to the color but also add to the cake’s soft texture.
Creating a Smoother Frosting
- Sift the Sugar: Sifting powdered sugar eliminates lumps, resulting in a smoother cream cheese frosting.
- Chill Before Spreading: Let the frosting chill for 10-15 minutes if it feels too soft, making it easier to spread evenly.
- Add Flavors: A dash of almond extract or lemon zest can add a subtle twist to the traditional frosting.
Preventing Common Issues
- Avoid Dry Cakes: Overbaking is the main culprit of dry cakes. Start checking for doneness a few minutes before the suggested baking time to avoid overbaking, as oven temperatures can vary.
- Even Layers: Use cake strips or wrap damp cloths around the pans to promote even baking and prevent domed tops.
- Cooling Matters: Cool the cakes completely before frosting to avoid a melting disaster.
Storage and Make-Ahead Options
- Make Ahead: Bake the cake layers a day in advance and store them wrapped in plastic wrap at room temperature or in the fridge.
- Freezing: Freeze unfrosted cake layers for up to 3 months by wrapping them in plastic wrap and placing them in a freezer-safe bag. Thaw before frosting.
- Refrigeration: Store the finished cake in the refrigerator for up to 5 days. Thaw to room temperature before serving.
Pro Presentation Tips
- Clean Cuts: Dip your knife in hot water and wipe it clean between slices for neat cake servings.
- Cake Board: Place the cake on a decorative board or stand to enhance the presentation.
- Garnishes: Add fresh berries, edible flowers, or grated chocolate to complement the velvet cake icing.
Mastering these tips will guarantee a moist, flavorful, and visually stunning red velvet cake
Variations and Customizations
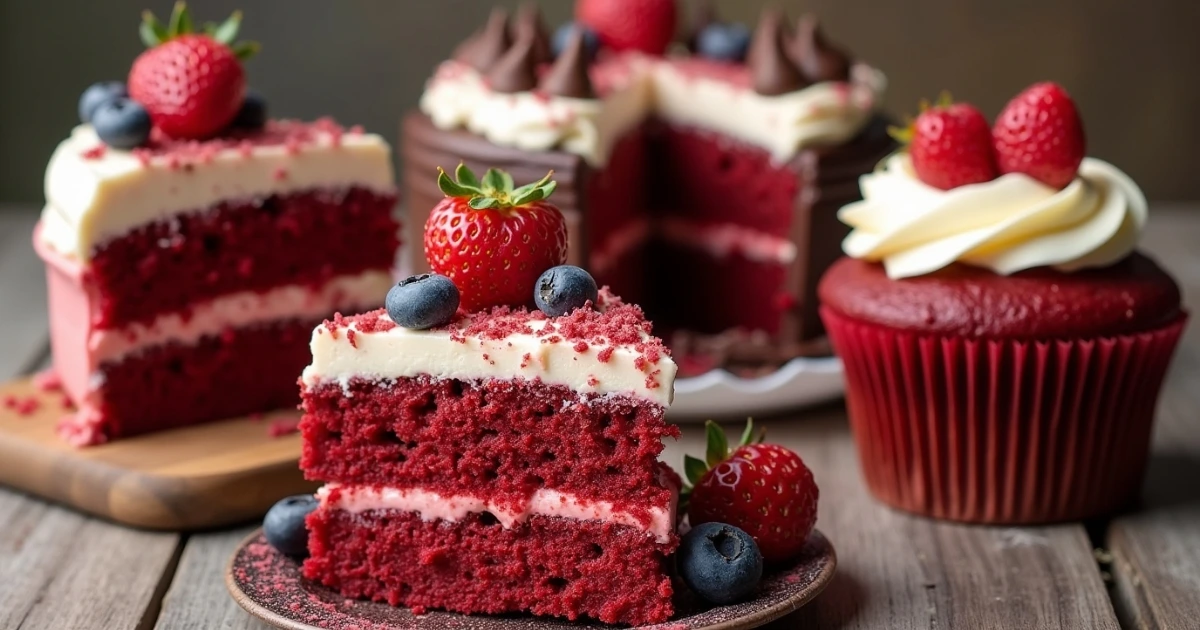
Making the original red velvet cake recipe your own can be both fun and rewarding. Here are some creative twists and dietary modifications to suit any occasion or preference:
Seasonal Adaptations
- Winter Wonderland Cake: Add a hint of peppermint extract to the batter and sprinkle crushed candy canes over the frosting for a festive holiday touch.
- Summer Berry Delight: Layer the cake with fresh strawberries or raspberries between the cream cheese frosting for a refreshing summer treat.
- Autumn Spice: Incorporate a pinch of cinnamon or nutmeg to the batter for a warm, spiced flavor perfect for fall gatherings.
Dietary Modifications
- Gluten-Free Option: Substitute all-purpose flour with a high-quality gluten-free flour blend. Add ½ teaspoon of xanthan gum if not included in the mix.
- Vegan Red Velvet Cake: Replace the eggs with flaxseed or chia seed eggs, use almond milk with vinegar as a buttermilk alternative, and opt for vegan cream cheese frosting.
- Low-Calorie Version: Use reduced-fat cream cheese for the frosting and a sugar substitute like erythritol for the cake.
Flavor Variations
- Chocolate-Enhanced Red Velvet: Double the amount of cocoa powder for a richer chocolate flavor while maintaining the classic red hue.
- Orange Red Velvet Cake: Add orange zest and a splash of orange juice for a citrusy twist.
- Nutty Delight: Mix crushed pecans or walnuts into the batter for a satisfying crunch.
Decoration Ideas
- Drip Design: Drizzle melted dark or white chocolate over the edges of the frosted cake for an elegant drip effect.
- Rustic Look: Spread the frosting with an offset spatula for a rustic, homemade appearance, and dust lightly with cocoa powder.
- Themed Garnishes: Decorate with edible flowers, colored sprinkles, or seasonal motifs to align with the celebration.
Layering Options
- Naked Cake: Apply a thin crumb coat of frosting and let the cake layers peek through for a trendy, minimalist design.
- Tall Layers: Use smaller pans for taller layers, creating a visually striking centerpiece for your dessert table.
- Sheet Cake Style: Bake in a rectangular pan and frost just the top for a simpler serving option.
By trying these customizations, you can transform your red velvet cake recipe into a unique creation that perfectly suits your style and event.
Serving and Presentation
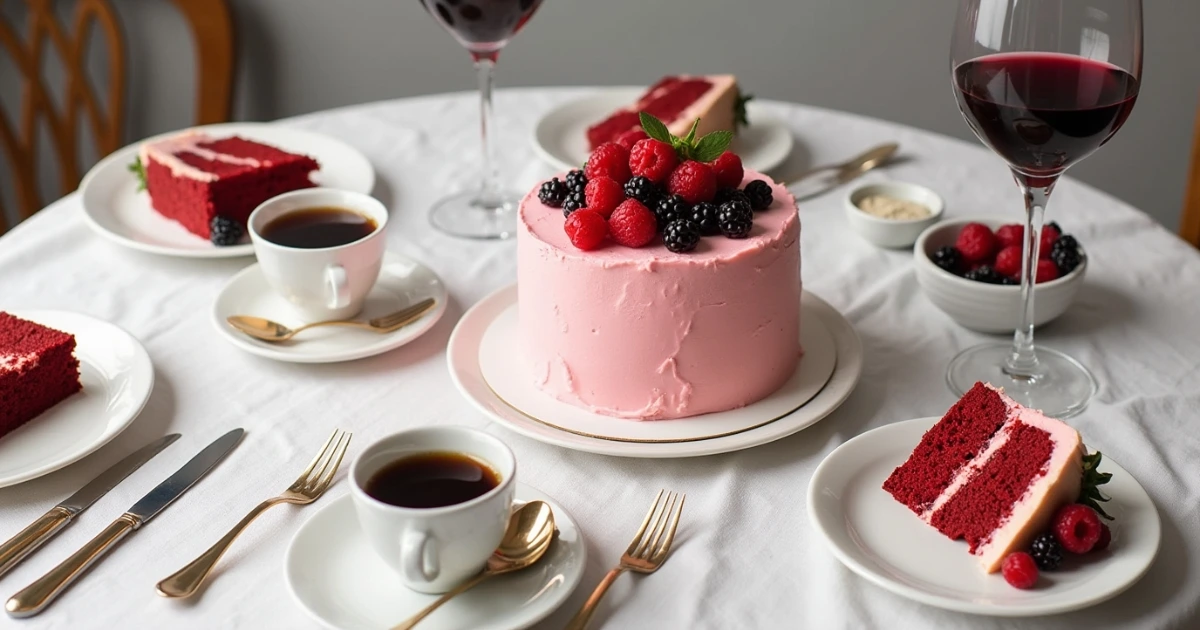
The original red velvet cake recipe is not just a dessert—it’s an experience that deserves to be showcased beautifully. Here’s how to serve and present this timeless classic with flair:
Plating Suggestions
- Classic Elegance: Serve slices on white dessert plates to emphasize the vibrant red and creamy white contrast of the cake and frosting.
- Layered Indulgence: Use transparent cake stands or plates to showcase the distinct layers of red cake and cream cheese frosting.
- Individual Servings: Prepare mini red velvet cupcakes or cake jars for personalized servings at parties.
Accompaniment Recommendations
- Beverages: Pair the cake with a hot cup of freshly brewed coffee, a creamy latte, or a chilled glass of milk for a comforting combination.
- Fruity Sides: Serve with a side of fresh berries like strawberries or raspberries for a tart contrast to the sweetness of the cake.
- Ice Cream: Add a scoop of vanilla or chocolate ice cream for an extra layer of decadence.
Special Occasion Presentations
- Wedding Bliss: Adorn the cake with edible silver or gold leaf for a luxurious wedding dessert table centerpiece.
- Birthday Celebrations: Customize with vibrant candles, colorful sprinkles, or edible toppers for a festive touch.
- Holiday Themes: Incorporate red and green frosting details or snowflake decorations for Christmas, or heart-shaped designs for Valentine’s Day.
Photography Tips for Social Sharing
- Natural Light: Capture the cake in natural daylight to highlight its rich color and texture.
- Top-Down Angles: Showcase the frosting and decoration by photographing from above.
- Close-Ups: Zoom in to capture the fine details, like the moist crumb of the cake or the smoothness of the frosting.
Pairing Suggestions
- Wine: Enjoy the cake with a glass of sweet dessert wine, such as a ruby port or moscato, for an elevated experience.
- Cocktails: Pair with a red velvet martini made with vodka, crème de cacao, and cream for a themed delight.
- Tea: A soothing cup of Earl Grey or chai complements the cake’s sweetness with subtle spice.
The perfect serving and presentation of your red velvet cake recipe will leave guests in awe and eager for more.
Conclusion
In conclusion, this original red velvet cake recipe is a true testament to the charm and indulgence of classic desserts. With its striking color, rich texture, and irresistible taste, it has earned its place as a timeless favorite for any occasion. Whether you’re hosting a special celebration or simply treating yourself to a sweet indulgence, this moist red velvet cake recipe never disappoints. The creamy, velvety icing paired with the soft, tender cake creates a heavenly dessert experience that keeps people coming back for more.
What makes this red velvet cake recipe even more special is its versatility. From simple family gatherings to elaborate weddings, it can be dressed up or down, making it perfect for any event. Plus, with expert tips, customizations, and pairing suggestions, you can elevate the experience and tailor it to your tastes.
So, if you’re craving a dessert that’s as visually stunning as it is delicious, give this red velvet cake recipe a try. Don’t forget to share your beautiful creations and enjoy the smiles it brings to your table!
Are you ready to make the cake? Get baking and make your next event memorable with this mouthwatering treat!
FAQ Section
1. What makes the original red velvet cake different from other cakes?
The original red velvet cake recipe is distinguished by its vibrant red color, moist crumb, and tangy flavor. The combination of buttermilk, cocoa powder, and vinegar creates a unique taste and texture that sets it apart from traditional cakes. Additionally, the velvet cake icing, usually made from cream cheese or buttercream, adds to the cake’s rich flavor.
2. Can I use a different type of frosting for my red velvet cake?
While the classic velvet cake icing is often made with cream cheese or buttercream, you can certainly customize your frosting. Some people use a classic buttercream, chocolate frosting, or even a whipped cream topping, depending on their preferences. However, the tanginess of cream cheese frosting complements the flavor of the cake best.
3. Can I make this red velvet cake recipe ahead of time?
Yes! This easy red velvet cake recipe can be made ahead of time. Simply bake and cool the cake, then store it in an airtight container for up to 3 days. You can also freeze the cake layers for up to 2 months and frost them once thawed.
4. Is there a way to make this cake gluten-free?
To make a red velvet cake recipe gluten-free, simply substitute the all-purpose flour with a gluten-free flour blend. Be sure to choose a high-quality, gluten-free flour that works well for baking, and adjust as necessary for texture.
5. What are the best occasions to serve red velvet cake?
The red velvet cake is perfect for a variety of occasions. From birthdays, holidays, and weddings to casual family gatherings, its striking appearance and delicious flavor make it a great choice for any celebration. It’s especially popular for Valentine’s Day, Christmas, and even Mother’s Day.
6. Can I use cake mix for this red velvet cake recipe?
Yes, if you’re short on time, you can use a mounds cake recipe with cake mix or another cake mix as a shortcut. However, for the most authentic original red velvet cake recipe, using fresh ingredients and following the detailed steps will give you the best result.
7. How can I store leftover red velvet cake?
Refrigerate leftover cake in an airtight container for 3-4 days. If you want to store it for a longer period, you can freeze the cake layers for up to 2 months. Just make sure the cake is well-wrapped to preserve freshness.

