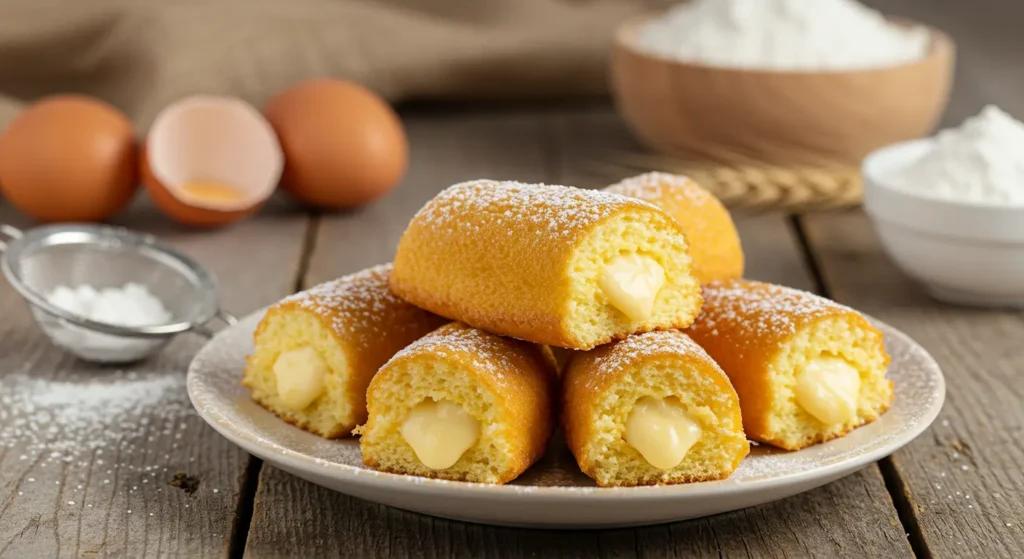
Close your eyes and imagine biting into a soft, spongy cake layered with luscious cream filling. That’s the magic of a Twinkie cake recipe, bringing a nostalgic favorite to life in a homemade, better-than-the-original version. Whether you’ve grown up enjoying the classic Twinkies or are simply looking for a show-stopping dessert, this recipe promises to deliver pure delight.
Making a Twinkie cake at home isn’t just about recreating a beloved snack; it’s about elevating it. From the fresh, creamy filling to the tender, golden sponge, this cake takes the iconic treat to the next level. Perfect for birthdays, parties, or a fun weekend project, this recipe also opens the door to delightful variations like a strawberry Twinkie or even a grand Twinkies birthday cake.
This guide walks you through every step, ensuring your homemade Twinkies come out flawless. Learn tips for creating the perfect sponge, a creamy filling that rivals store-bought, and how to make stunning presentations for any occasion. Let’s dive into this ultimate Twinkie cake recipe and create a dessert that will have everyone asking for seconds!
Quick Recipe Card
Twinkie Cake Recipe
Prep Time: 25 minutes
Cook Time: 30 minutes
Total Time: 55 minutes
Difficulty Level: Moderate
Servings: 12
Nutritional Information (Per Serving)
- Calories: 320
- Protein: 6g
- Carbohydrates: 45g
- Fat: 12g
- Fiber: 1g
Equipment Needed
- Mixing bowls
- Electric mixer
- 9×13-inch baking pan
- Parchment paper
- Cooling rack
- Piping bag (optional)
Ingredients
- Cake:
- 1 ¾ cups (220g) all-purpose flour
- 1 tsp baking powder
- ½ tsp baking soda
- ½ tsp salt
- ½ cup (115g) unsalted butter, softened
- 1 cup (200g) granulated sugar
- 2 large eggs
- 1 tsp vanilla extract
- ¾ cup (180ml) buttermilk
- Filling:
- ½ cup (120ml) heavy cream
- ½ cup (100g) granulated sugar
- 1 tsp vanilla extract
- ¼ cup (60g) unsalted butter, softened
Instructions
- Preheat your oven to 350°F (175°C). Grease and line a 9×13-inch pan with parchment paper.
- In a bowl, whisk together flour, baking powder, baking soda, and salt.
- In a separate bowl, cream butter and sugar until fluffy. Add eggs and vanilla, mixing well.
- Combine the wet and dry mixtures in alternating portions, incorporating buttermilk between additions.
- Pour the batter into the prepared pan and bake for 25-30 minutes.
- For the filling, whip heavy cream, sugar, and vanilla until stiff peaks form. Fold in softened butter.
- Once the cake is cooled, cut into layers and spread the filling evenly. For a fun twist, add a strawberry Twinkie layer or decorate like a Twinkies birthday cake.
Ingredient Deep Dive
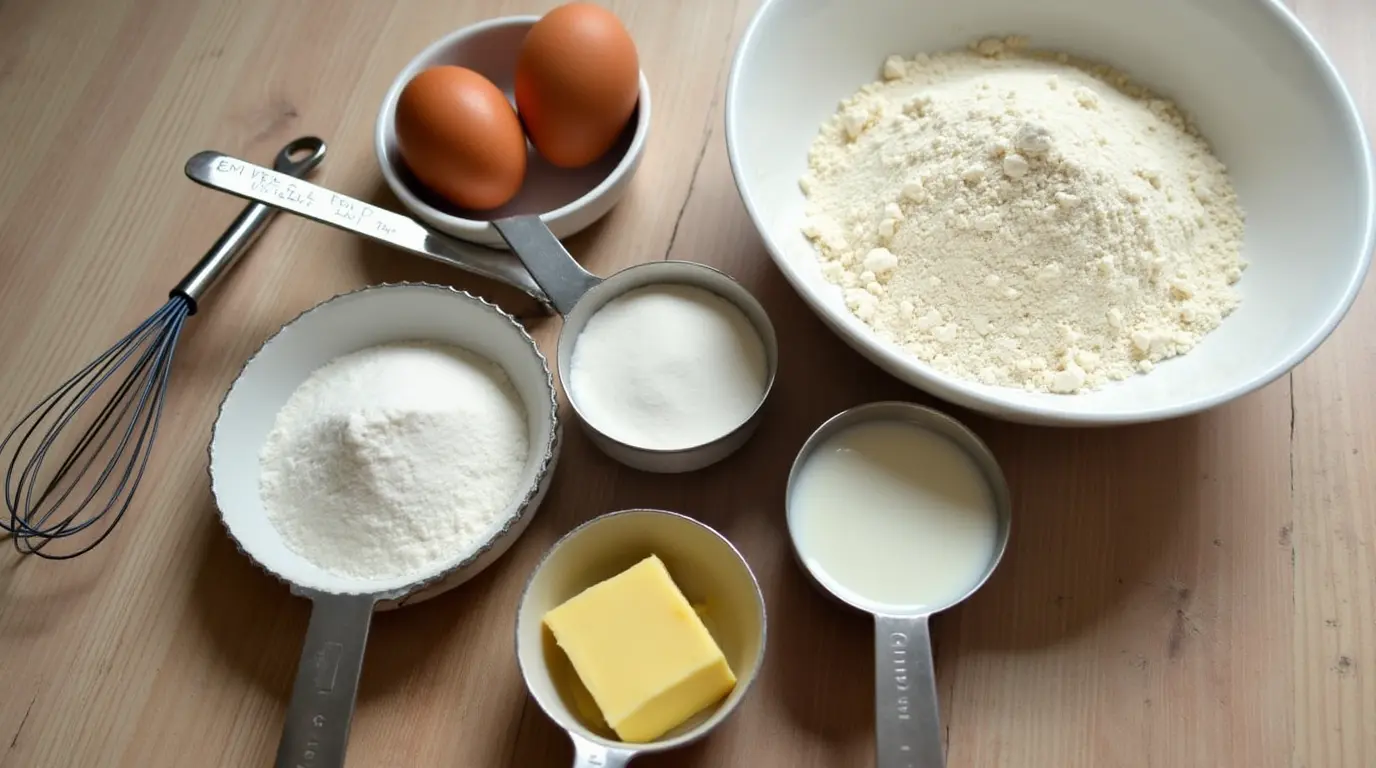
Creating the perfect Twinkie cake recipe starts with understanding the key ingredients that make this dessert so special. From ensuring a light, fluffy sponge to whipping up the creamy filling, every component plays a vital role. Here’s a detailed look at the ingredients you’ll need and how to make the most of them.
1. All-Purpose Flour
The foundation of the cake, all-purpose flour provides the structure needed for a soft yet sturdy sponge. For a lighter texture, sift the flour before mixing. If you’re feeling adventurous, try substituting part of the flour with almond flour for a unique twist.
2. Buttermilk
This ingredient is a game-changer for moisture and tanginess. The acidity in buttermilk reacts with baking soda, creating a tender crumb. If you don’t have buttermilk on hand, mix ¾ cup of milk with 1 tablespoon of vinegar or lemon juice as a substitute.
3. Unsalted Butter
Butter is essential for richness and flavor. Ensure it’s softened for easier mixing, resulting in a smooth and creamy batter. For an even richer taste, consider using European-style butter.
4. Heavy Cream
The heavy cream is a star ingredient in the filling. When whipped to perfection, it creates the signature creamy texture that elevates this Twinkie cake. Keep it chilled before whipping for the best results.
5. Vanilla Extract
Vanilla is a flavor cornerstone in both the cake and the filling. Use high-quality pure vanilla extract to enhance the overall taste. For a fun variation, try adding almond or coconut extract to the filling.
6. Sugar
Granulated sugar adds sweetness and structure. In the filling, it helps stabilize the whipped cream. To reduce the sweetness slightly, use superfine sugar or powdered sugar for a smoother texture.
7. Optional Additions
- Strawberries: Adding a strawberry Twinkie layer not only looks stunning but also introduces a fruity flavor. Fresh or freeze-dried strawberries work wonderfully.
- Food Coloring: For festive occasions, use natural food coloring to add a vibrant twist to the filling or cake.
Ingredient Storage Tips
- Store dry ingredients like flour and sugar in airtight containers to maintain freshness.
- Keep buttermilk and heavy cream refrigerated until just before use.
- If you plan to add strawberries, wash and dry them thoroughly before incorporating them into the recipe.
With these ingredients prepped and understood, your homemade Twinkies are bound to be a hit!
Equipment Needed
To ensure your Twinkie cake recipe turns out perfectly, having the right tools on hand is essential. While you can adapt with alternatives, these tools will make the process smoother and more enjoyable.
1. Mixing Bowls
A set of mixing bowls in various sizes is ideal for separating wet and dry ingredients. Use stainless steel or glass bowls for durability and ease of cleaning.
2. Electric Mixer
An electric hand mixer or stand mixer is crucial for creaming butter and sugar, as well as whipping the heavy cream for the filling. A stand mixer with a whisk attachment will make the process faster and more efficient.
3. 9×13-inch Baking Pan
This size pan is perfect for baking the base of your Twinkie cake. Use a nonstick pan or line it with parchment paper to prevent sticking. If you don’t have this size, two smaller pans can work, but adjust the baking time accordingly.
4. Parchment Paper
Parchment paper ensures easy release of the cake from the pan and prevents sticking. Cut it to fit the base of your baking pan for hassle-free removal.
5. Cooling Rack
A cooling rack allows air to circulate around the cake, ensuring even cooling and preventing sogginess. Cooling is crucial before applying the filling to avoid melting it.
6. Piping Bag (Optional)
For an authentic homemade Twinkies look, a piping bag with a round tip is perfect for injecting the filling into the cake. If you don’t have one, a resealable plastic bag with a small corner snipped off works just as well.
7. Offset Spatula
An offset spatula makes spreading the filling or frosting evenly a breeze. It’s also helpful for smoothing the surface of the cake.
8. Alternatives for Budget-Friendly Options
- Instead of an electric mixer, use a sturdy whisk and some arm strength.
- Replace a cooling rack with an inverted plate or clean oven rack.
- Use aluminum foil if parchment paper is unavailable.
Care and Maintenance Tips
- Wash mixing bowls and tools immediately after use to prevent batter or filling from hardening.
- Keep your piping bag clean and dry for precise results every time.
- Store your baking pan in a cool, dry place to maintain its nonstick coating.
With the right equipment ready, you’re one step closer to creating the ultimate Twinkie cake.
Step-by-Step Instructions
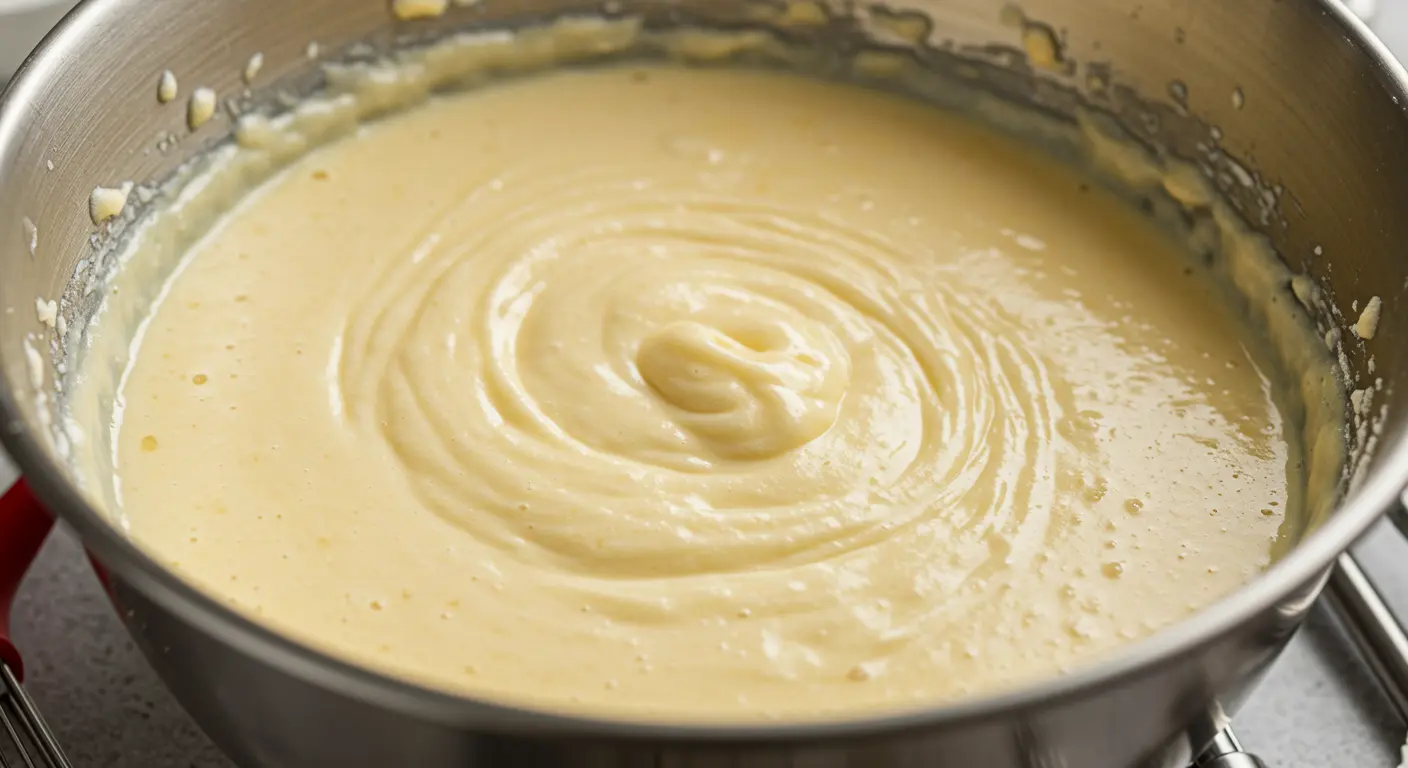
Creating the perfect Twinkie cake recipe is a fun and rewarding process. Follow these detailed steps to ensure your cake is soft, flavorful, and filled with a luscious cream that rivals the original.
Step 1: Preheat the Oven
- Preheat your oven to 350°F (175°C).
- Grease a 9×13-inch baking pan and line it with parchment paper for easy removal.
Step 2: Prepare the Dry Ingredients
- In a medium bowl, whisk together:
- 1 ¾ cups all-purpose flour
- 1 teaspoon baking powder
- ½ teaspoon baking soda
- ½ teaspoon salt
- Sifting the ingredients helps ensure a light, airy texture.
Step 3: Cream Butter and Sugar
- In a large mixing bowl, cream ½ cup unsalted butter (softened) with 1 cup granulated sugar until light and fluffy.
- Use an electric mixer on medium speed for the best results. This step is key for a tender cake.
Step 4: Add Eggs and Vanilla
- Begin incorporating each egg individually into the mixture, taking care that the first is completely blended before adding the second.
- Stir in the vanilla flavoring to develop a richer taste profile.
Step 5: Combine Wet and Dry Ingredients
- Gradually add the dry ingredients to the butter mixture, alternating with ¾ cup buttermilk. Start and end with the dry ingredients.
- Mix until just combined to avoid overmixing, which can make the cake dense.
Step 6: Bake the Cake
- Transfer the cake mixture evenly into your greased baking container, using gentle motions to create a level surface.
- Position the pan in the preheated oven and cook until done, approximately 25 to 30 minutes in duration.To confirm doneness, insert a wooden pick into the cake’s middle – it should emerge without batter clinging to it.
- Let the finished cake rest briefly in its pan (about 10 minutes) before moving it to a wire rack for complete cooling.
Step 7: Make the Filling
- In a chilled bowl, whip ½ cup heavy cream, ½ cup granulated sugar, and 1 teaspoon vanilla extract until stiff peaks form.
- Fold in ¼ cup softened unsalted butter for a smooth and creamy consistency.
Step 8: Assemble the Cake
- Once the cake is completely cooled, cut it into two even layers.
- Spread the filling generously on the bottom layer. Add a layer of sliced strawberries for a fun strawberry Twinkie variation if desired.
- Place the top layer gently over the filling.
Step 9: Decorate the Cake
- For a festive touch, pipe additional filling on top or decorate with sprinkles. If you’re making a Twinkies birthday cake, add candles or themed decorations.
Step 10: Chill and Serve
- Refrigerate the assembled cake for at least 30 minutes to allow the filling to set.
- Slice and serve your homemade Twinkie cake, savoring every bite of this nostalgic treat!
Expert Tips and Tricks
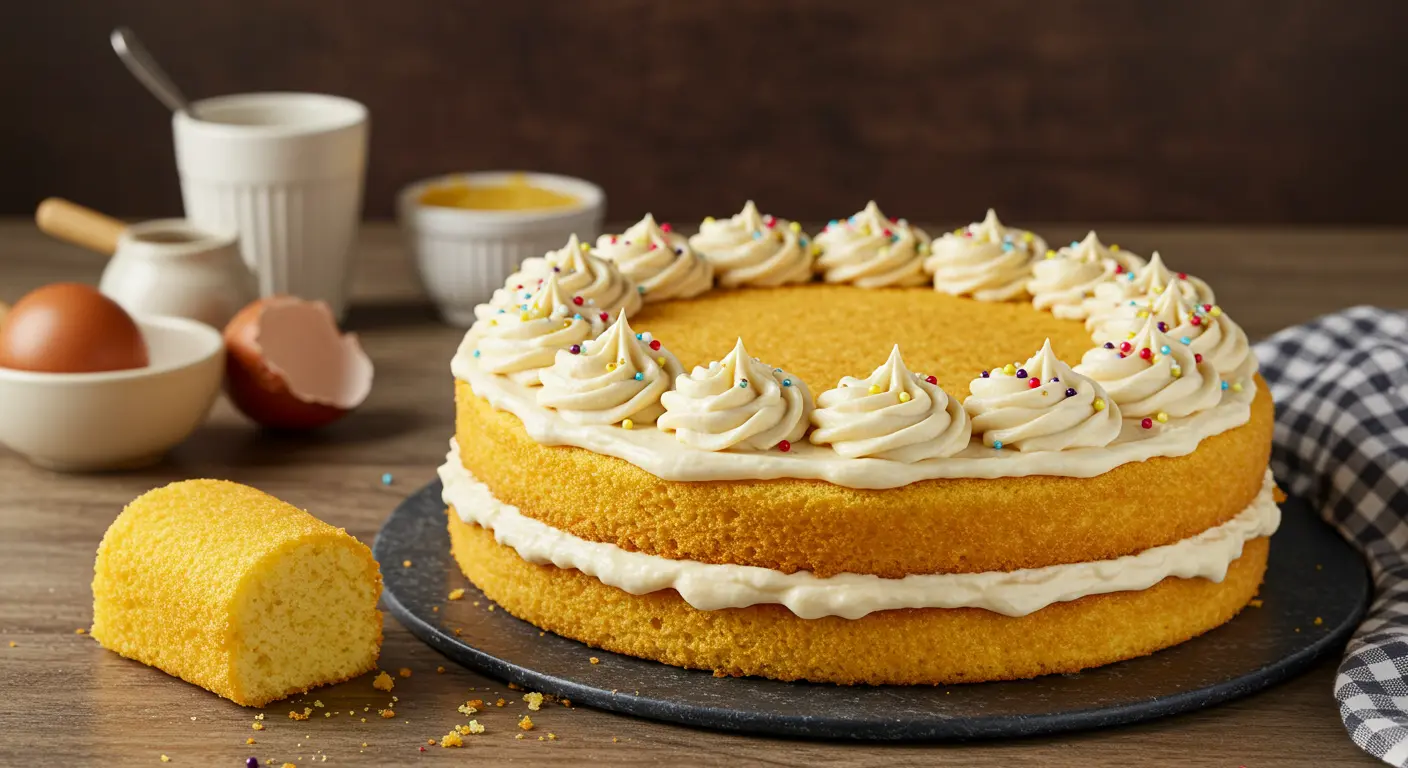
Take your Twinkie cake recipe to the next level with these pro tips. From troubleshooting common issues to elevating the flavor profile, these insights will ensure your homemade cake rivals (or surpasses!) the original.
1. Perfecting the Sponge
- Don’t Overmix: Once you combine the wet and dry ingredients, mix just until incorporated. Overmixing can lead to a dense texture.
- Room Temperature Ingredients: Use room temperature eggs, butter, and buttermilk to achieve a smooth batter and even baking.
2. Creamy Filling Hacks
- Chill Your Tools: For a stable filling, chill the mixing bowl and whisk before whipping the cream.
- Add Gelatin for Stability: If you’re serving the cake in a warm environment, dissolve 1 teaspoon of gelatin in 2 tablespoons of hot water, let it cool, and fold it into the whipped cream.
3. Mastering the Layers
- Use a Serrated Knife: To slice the cake into even layers, use a serrated knife in a gentle sawing motion. This prevents crumbling.
- Even Filling Distribution: Use a piping bag to apply the filling evenly between layers.
4. Creative Variations
- Strawberry Twinkie: Add a layer of sliced fresh strawberries or a strawberry jam spread between the cake and filling.
- Birthday Twist: Turn your cake into a Twinkies birthday cake by using colorful sprinkles or a frosting layer with vibrant decorations.
5. Common Troubleshooting
- Cake Too Dry: Brush the layers with a simple syrup flavored with vanilla or almond extract.
- Filling Too Runny: Ensure the heavy cream is whipped to stiff peaks and the butter is softened but not melted.
6. Make-Ahead Instructions
- Bake in Advance: You can bake the cake layers a day ahead. Wrap them tightly in plastic wrap and store at room temperature.
- Assemble the Day Of: For the freshest taste, assemble the cake and add the filling on the day you plan to serve it.
7. Storage Tips
- Refrigeration: Store the cake in an airtight container in the refrigerator for up to 3 days.
- Freezing: The cake layers can be frozen for up to 2 months. Thaw completely before assembling.
By incorporating these tips, your Twinkie cake recipe will be a showstopper every time.
Variations and Customizations
Elevate your Twinkie cake recipe with these exciting variations and customizations. Whether you’re celebrating a special occasion or experimenting with new flavors, these ideas will inspire you to make your cake truly unique.
1. Seasonal Adaptations
- Summer Delight: Incorporate fresh fruits like strawberries, blueberries, or raspberries into the filling for a refreshing twist. A strawberry Twinkie variation is especially crowd-pleasing.
- Fall Flavor: Add a teaspoon of cinnamon and a pinch of nutmeg to the cake batter for a warm, autumnal flavor.
- Winter Wonderland: Top the cake with white chocolate ganache and a dusting of powdered sugar for a festive look.
2. Dietary Modifications
- Gluten-Free Option: Replace the all-purpose flour with a gluten-free flour blend. Ensure the blend includes xanthan gum or add it separately for structure.
- Dairy-Free Delight: Substitute plant-based butter and coconut cream for the filling. Use almond or oat milk in the batter.
- Low-Sugar Version: Swap regular sugar with a granulated sugar substitute suitable for baking.
3. Flavor Variations
- Chocolate Lovers: Add cocoa powder to the batter for a chocolate cake base. Fill with chocolate-flavored whipped cream or Nutella for indulgence.
- Citrus Burst: Zest a lemon or orange into the batter and filling for a bright, tangy flavor.
- Coffee Infusion: Add a tablespoon of instant espresso powder to the batter for a mocha-inspired cake.
4. Decoration Ideas
- Twinkies Birthday Cake: Cover the cake in vanilla buttercream, and decorate with colorful sprinkles, edible glitter, or fondant letters spelling out a celebratory message.
- Classic Elegance: Use piped whipped cream and delicate chocolate shavings for a minimalist yet sophisticated look.
- Kid-Friendly Fun: Add mini homemade Twinkies as toppers or use candy pieces for playful decoration.
5. Party Presentation
- Individual Servings: Instead of a large cake, bake the batter in cupcake tins for homemade Twinkies in individual portions.
- Layered Extravagance: Make a multi-layer version with different fillings between each layer, such as chocolate, strawberry, and vanilla.
These variations let you customize your Twinkie cake recipe to suit any celebration or preference.
Serving and Presentation
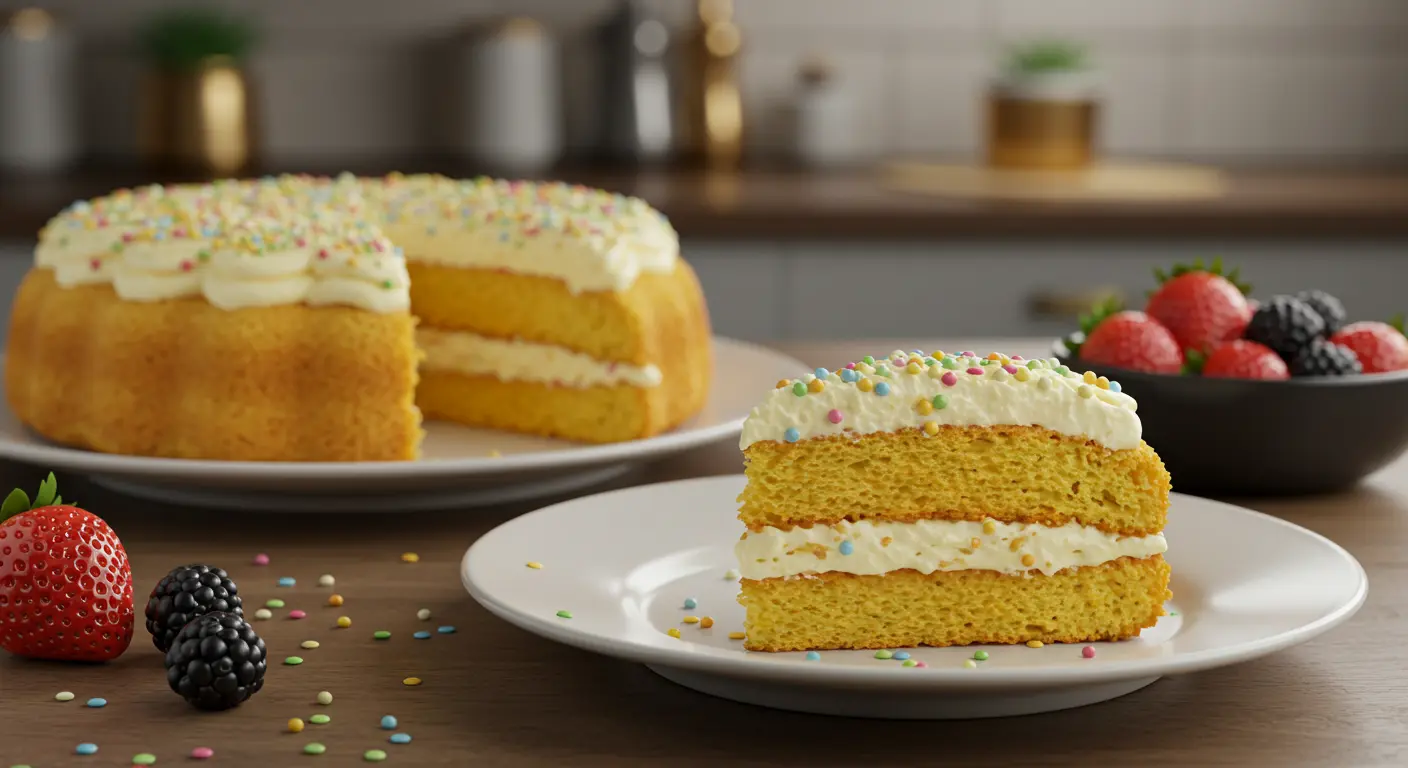
Your Twinkie cake recipe deserves a stunning presentation to match its delectable taste. Use these serving and styling tips to impress your guests and make your cake the centerpiece of any gathering.
1. Plating Suggestions
- Elegant Slices: Cut the cake into neat, even slices and serve on decorative plates with a drizzle of chocolate or caramel sauce.
- Twinkies-Inspired: Serve with a dollop of whipped cream on the side to mimic the nostalgic feel of traditional homemade Twinkies.
2. Accompaniment Recommendations
- Beverage Pairings:
- A warm latte or cappuccino complements the creamy filling beautifully.
- For a refreshing twist, pair with iced tea or a chilled glass of milk.
- Side Treats: Offer mini strawberry Twinkies or cookies alongside the cake for a themed dessert platter.
3. Special Occasion Presentations
- Birthday Celebration: Transform the cake into a Twinkies birthday cake by adding candles, edible confetti, and a festive cake topper.
- Holiday Twist: Use red and green sprinkles or a dusting of powdered sugar to evoke a winter wonderland.
- Layered Elegance: Display the cake on a tiered stand, with alternating layers of frosting and decorative accents.
4. Photography Tips for Social Sharing
- Lighting Matters: Use natural light to capture the cake’s soft texture and creamy filling.
- Angle Play: Take photos from different angles, including a close-up of a slice showing the layers.
- Props and Backgrounds: Add a glass of milk, a small bouquet of flowers, or colorful napkins to enhance the presentation.
5. Pairing Suggestions
- Fruit Options: Serve the cake with fresh strawberries, raspberries, or a mixed fruit salad to balance the sweetness.
- Ice Cream Pairings: A scoop of vanilla or strawberry ice cream adds a luxurious touch to each slice.
With these presentation ideas, your Twinkie cake recipe will look as irresistible as it tastes.
Conclusion
There you have it – the ultimate Twinkie cake recipe, perfected and ready to wow your taste buds! Whether you’re creating this cake as a nostalgic tribute to the classic Twinkie or adding your own creative spin, it’s sure to be a crowd-pleaser. From the fluffy cake layers to the creamy, dreamy filling, every bite is a delicious treat.
With endless options for customization, whether it’s a strawberry Twinkie twist, a Twinkies birthday cake, or even a gluten-free version, this recipe has something for everyone. And with the tips and tricks provided, you can master the art of making this cake like a professional baker.
So, gather your ingredients, get ready to bake, and enjoy the sweet, homemade joy of your very own Twinkie cake recipe. Perfect for any occasion or just a fun treat to enjoy at home! Happy baking! 😊
FAQ Section
Here are answers to some common questions about making and enjoying your Twinkie cake recipe. Whether you’re a first-time baker or a seasoned pro, these helpful tips will ensure your cake turns out perfectly every time.
1. Can I use a store-bought cake mix instead of making the batter from scratch?
Yes! If you’re short on time, feel free to use a Twinkie recipe or any vanilla cake mix as a base. Just be sure to prepare the filling and assembly as per the instructions for the best results.
2. Can I make this cake ahead of time?
Absolutely! You can bake the cake layers a day ahead and store them in an airtight container. Assemble the cake the day you plan to serve it, so the filling stays fresh and the layers remain moist.
3. What’s the best way to store leftover Twinkie cake?
Store leftover cake in an airtight container in the refrigerator for up to 3 days. For longer storage, you can freeze the cake layers (without filling) for up to 2 months. Thaw completely before reassembling and serving.
4. Can I substitute the filling for something else?
Yes, feel free to get creative! You can replace the filling with whipped chocolate ganache, fruit preserves, or a mascarpone filling for a twist on the classic. For a strawberry Twinkie variation, try adding strawberry jam to the cream filling.
5. How do I make the Twinkie cake gluten-free?
To make the cake gluten-free, simply substitute the all-purpose flour with a gluten-free flour blend. Make sure to add xanthan gum if it’s not already included in the blend. The texture may vary slightly, but it will still be delicious!
6. Can I decorate the cake with frosting?
Yes, you can definitely decorate your Twinkies birthday cake with frosting. A simple vanilla buttercream or even a chocolate frosting works wonderfully. Feel free to get creative with colors and designs!
7. How can I add more flavor to my cake?
For added flavor, consider adding a teaspoon of citrus zest (like lemon or orange) to the batter or filling. You can also infuse the cake with spices like cinnamon or nutmeg for a seasonal twist.
These FAQs should help clear up any doubts and make your Twinkie cake recipe an absolute success. Happy baking, and enjoy your homemade masterpiece!

