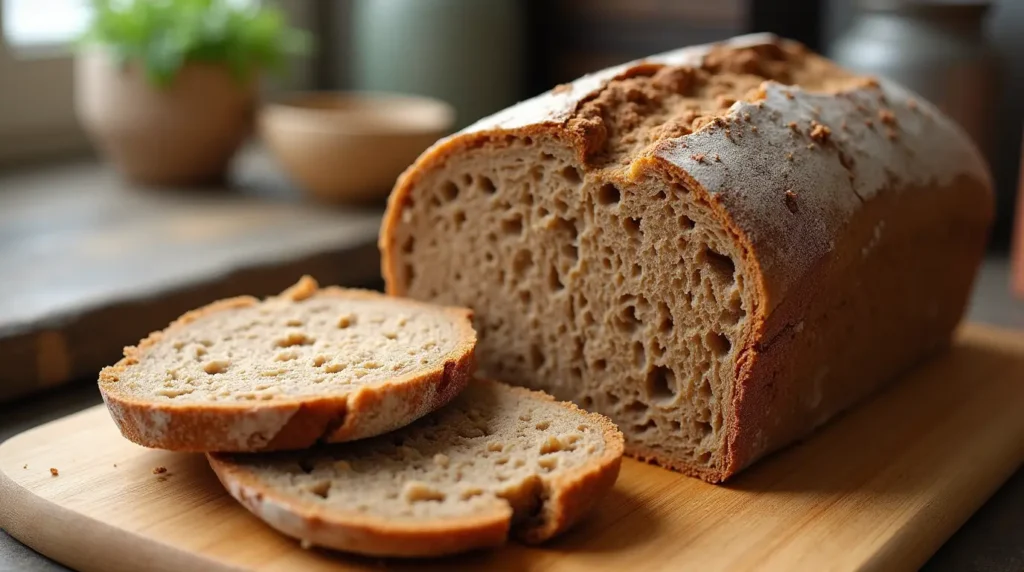
Imagine the earthy aroma of freshly baked bread wafting through your kitchen—a rustic loaf with a nutty, hearty flavor that’s as comforting as it is nourishing. This buckwheat bread recipe offers all of that and more. Gluten-free and naturally wholesome, it’s the perfect choice for those seeking an artisan-style loaf without the need for traditional wheat flour.
For me, discovering the wonders of buckwheat flour bread was a revelation. Its dense texture, subtle nuttiness, and versatility make it a staple in my kitchen. Whether you’re looking for a gluten-free option or simply want to experiment with a unique grain, this recipe is sure to become a favorite.
Buckwheat, despite its name, isn’t related to wheat at all. It’s a seed that has been a dietary staple in cultures around the world, particularly in Eastern Europe and Asia. Its natural gluten-free properties make it an excellent choice for baking, and its earthy flavor pairs beautifully with sweet or savory toppings.
What sets this buckwheat flour bread recipe apart is its simplicity and adaptability. With just a handful of ingredients, you can create a loaf that’s perfect for sandwiches, toast, or enjoying on its own. Plus, this recipe works wonderfully with a bread machine, making it even easier to enjoy homemade gluten-free bread.
Get ready to bake the perfect loaf of buckwheat bread that’s not only delicious but also packed with nutrients. Let’s dive into this one ingredient buckwheat bread journey and transform your bread-baking game!
Quick Recipe Card
Rustic Buckwheat Bread Recipe
- Prep Time: 15 minutes
- Cook Time: 45 minutes
- Total Time: 1 hour
- Difficulty Level: Easy
- Servings: 10 slices
Nutritional Information (Per Slice):
- Calories: 120
- Protein: 4g
- Carbohydrates: 22g
- Fat: 2g
- Fiber: 3g
Equipment Needed:
- Large mixing bowl
- Whisk
- Loaf pan or bread machine (for a buckwheat bread machine recipe)
- Measuring cups and spoons
- Oven or bread machine
Ingredients:
- 2 cups (250g) buckwheat flour
- 1 teaspoon baking soda
- ½ teaspoon salt
- 1 cup (240ml) buttermilk or plant-based milk
- 2 tablespoons olive oil
- Optional: 1 tablespoon honey or maple syrup
Instructions:
- Preheat your oven to 350°F (175°C) or set your bread machine to the gluten-free cycle.
- In a large mixing bowl, combine the buckwheat flour, baking soda, and salt.
- Gradually add the buttermilk, olive oil, and sweetener (if using), stirring until just combined.
- Pour the batter into a greased loaf pan or your bread machine.
- Bake in the oven for 45 minutes or until a toothpick inserted comes out clean. If using a bread machine, follow the manufacturer’s instructions.
- Let the bread cool completely before slicing and serving.
This quick and easy buckwheat flour bread recipe delivers a hearty, gluten-free loaf every time. Perfect for beginners and experienced bakers alike!
Ingredient Deep Dive
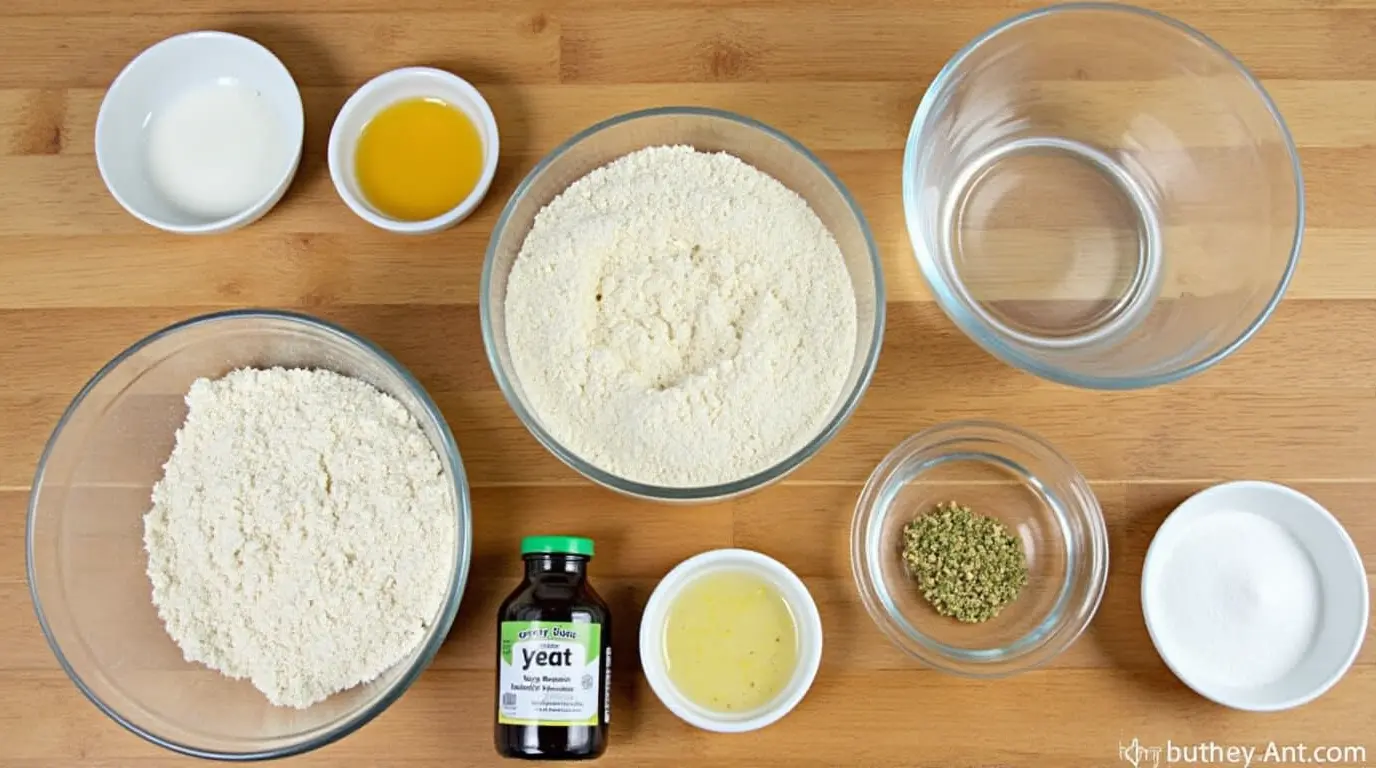
Each ingredient in this buckwheat bread recipe plays a crucial role in creating a flavorful, gluten-free loaf. Let’s explore the key components, substitutions, and tips to perfect your baking.
Buckwheat Flour
The star of this recipe, buckwheat flour, provides a dense texture and earthy flavor. Despite its name, buckwheat is naturally gluten-free and comes from a seed rather than a grain. It’s rich in protein, fiber, and essential nutrients like magnesium and antioxidants.
- Substitution: For a lighter texture, you can blend buckwheat flour with almond flour or a gluten-free all-purpose mix, but this will alter the bread’s signature flavor.
- Brand Recommendation: Bob’s Red Mill and Anthony’s are excellent options for high-quality buckwheat flour.
- Storage Tip: Store buckwheat flour in an airtight container in the refrigerator to keep it fresh for longer.
Baking Soda
This leavening agent helps the bread rise slightly and gives it a soft crumb. Baking soda reacts with the acidity in buttermilk, creating small air pockets.
- Substitution: If unavailable, use baking powder, but double the amount to achieve similar results.
Salt
A small amount of salt enhances the flavors in this buckwheat flour bread recipe. Opt for fine sea salt for even distribution.
- Substitution: For a lower-sodium version, try a salt substitute or reduce the amount by half.
Buttermilk or Plant-Based Milk
Buttermilk adds tanginess and moisture to the bread. If you’re dairy-free, opt for plant-based milk like almond or soy milk, and add a teaspoon of vinegar or lemon juice to mimic the acidity.
- Substitution: Greek yogurt mixed with water in a 1:1 ratio works as a great alternative.
Olive Oil
Olive oil keeps the bread moist and adds a subtle richness. Use extra-virgin olive oil for a robust flavor or vegetable oil for a neutral taste.
- Substitution: Melted butter or coconut oil can be used if you prefer.
Optional Sweetener
Honey or maple syrup balances the earthy flavor of the buckwheat bread with a hint of sweetness. This is optional, so feel free to skip it for a completely savory loaf.
- Substitution: Agave nectar or a sugar-free syrup can be used.
Additional Tips:
- If making a buckwheat bread machine recipe, use the ingredients in the same proportions, following your machine’s instructions for gluten-free bread.
- For a minimalist approach, try the one ingredient buckwheat bread version by blending soaked buckwheat groats into a batter.
With these insights, you’re well-equipped to personalize and perfect your buckwheat bread recipe!
Equipment Needed
Making the perfect buckwheat bread recipe requires a few essential tools. Whether you’re using a traditional oven or a bread machine, these items will help you achieve great results every time.
- Large Mixing Bowl
A sturdy mixing bowl is crucial for combining your ingredients. Opt for a bowl with a non-slip base for added stability.
- Alternative: If you’re preparing a buckwheat bread machine recipe, the mixing is done directly in the machine’s pan.
- Whisk or Mixing Spoon
A whisk helps evenly distribute dry ingredients like baking soda and salt in the buckwheat flour bread batter. For thicker batters, a strong mixing spoon works best.
- Tip: Wooden or silicone spoons are gentle on non-stick surfaces and easy to clean.
- Loaf Pan
A standard 8×4-inch loaf pan is ideal for baking this bread. Look for non-stick or silicone pans to ensure easy release.
- Alternative: For a more rustic look, bake the bread on a parchment-lined baking sheet to create a freeform loaf.
- Bread Machine (Optional)
If you have a bread machine, it simplifies the process, especially for a buckwheat bread machine recipe. Use the gluten-free cycle to ensure proper baking and texture.
- Measuring Cups and Spoons
Precise measurements are essential for the success of any recipe, especially when working with gluten-free flours.
- Tip: Invest in a digital scale for added accuracy when measuring ingredients like buckwheat flour.
- Cooling Rack
Allow your bread to cool completely on a rack to maintain its texture and prevent sogginess.
Budget vs. Premium Options
- Budget-friendly tools are widely available at most stores, but investing in premium non-stick loaf pans or a high-quality bread machine can enhance your baking experience.
By having these tools on hand, you’ll set yourself up for success with this versatile buckwheat bread recipe.
Step-by-Step Instructions
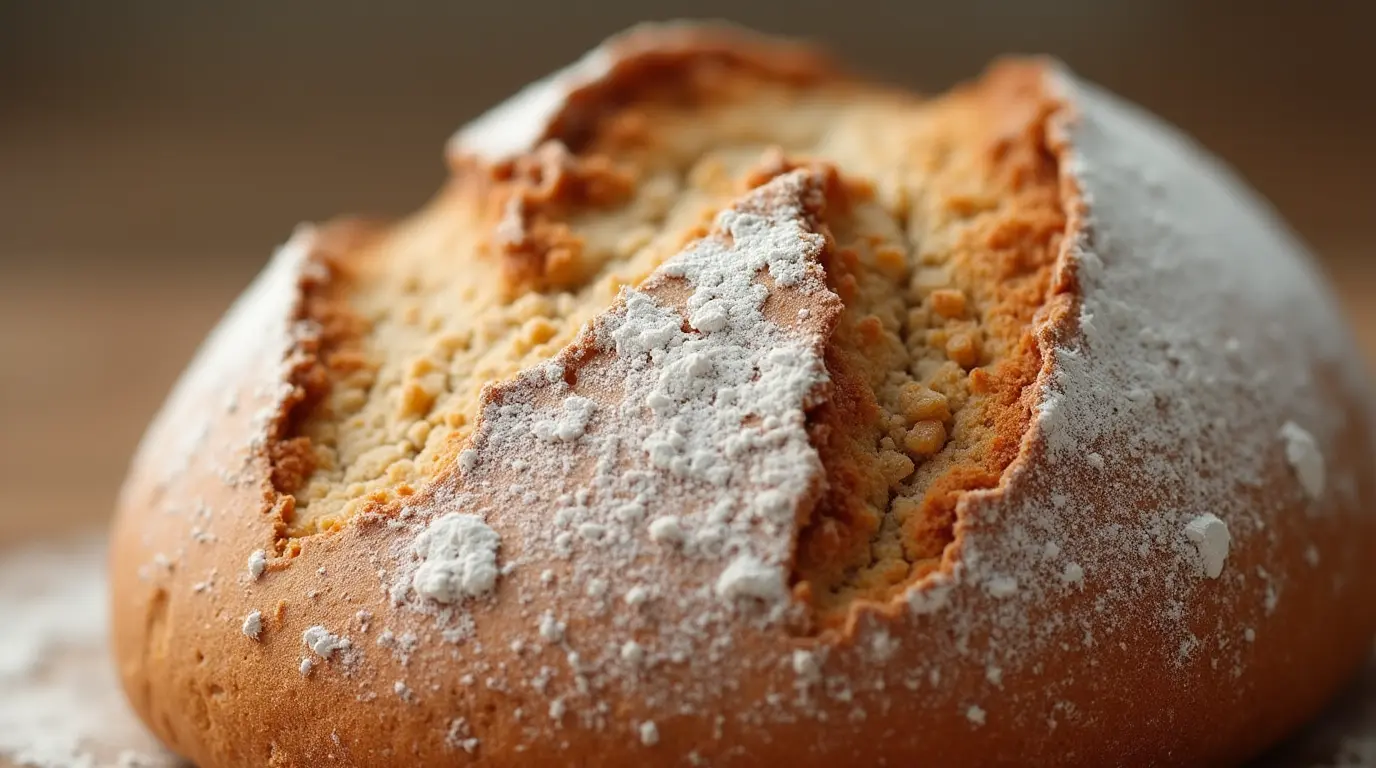
Follow these easy steps to make your buckwheat bread recipe. Whether you’re using a bread machine or baking by hand, each stage is designed to help you achieve a perfectly rustic loaf with a hearty, nutty flavor.
Step 1: Preheat and Prepare
Start by preheating your oven to 350°F (175°C). If you’re using a buckwheat bread machine recipe, set it to the gluten-free setting. Prepare your loaf pan by greasing it lightly with oil or lining it with parchment paper for easy removal.
- Common Pitfall: Not preheating the oven may result in uneven baking. Make sure it’s fully heated before placing your dough inside.
Step 2: Mix Dry Ingredients
In a large mixing bowl, whisk together 2 cups (250g) of buckwheat flour, 1 teaspoon of baking soda, and ½ teaspoon of salt. The baking soda is essential for creating the slight rise needed for this buckwheat flour bread recipe.
- Tip: Sift the buckwheat flour before adding it to prevent any lumps.
Step 3: Add Wet Ingredients
In a separate bowl, whisk together 1 cup (240ml) of buttermilk (or your plant-based milk) and 2 tablespoons of olive oil. If you’re adding honey or maple syrup for sweetness, now is the time to incorporate it.
- Common Pitfall: Be careful not to overmix your wet ingredients, which can cause the bread to become too dense.
Step 4: Combine Wet and Dry Ingredients
Slowly pour the wet ingredients into the dry ingredients, stirring gently until the dough just comes together. Don’t overwork the dough—this will keep the buckwheat bread from becoming too tough. The mixture should be thick but spreadable.
- Tip: If the dough seems too dry, add a little extra milk, one tablespoon at a time.
Step 5: Transfer to Loaf Pan
Spoon the dough into your prepared loaf pan. Use a spatula to smooth the top, ensuring it’s level. If you’re using a buckwheat bread machine recipe, simply pour the dough into the bread machine’s pan and follow the manufacturer’s instructions.
- Common Pitfall: If your loaf is too thick or unevenly spread, it may bake unevenly. Take the time to smooth it out.
Step 6: Bake the Bread
Place the loaf pan in the oven (or in your bread machine if following the machine’s instructions). Bake for 45 minutes or until the bread is golden brown on top and a toothpick inserted into the center comes out clean.
- Tip: Check the bread at the 35-minute mark. If the top is browning too quickly, loosely cover it with foil to prevent burning.
Step 7: Cool and Slice
Once baked, remove the loaf from the oven and let it cool in the pan for 10 minutes. Then, transfer it to a cooling rack to cool completely before slicing. This allows the bread to set properly and prevents it from becoming too crumbly.
- Common Pitfall: Trying to slice the bread too early can cause it to fall apart. Let it cool for at least 30 minutes for cleaner cuts.
Optional: For a One Ingredient Buckwheat Bread Variation
If you want to try a minimalist approach, you can experiment with one ingredient buckwheat bread. Soak buckwheat groats overnight, blend them with water until smooth, and bake as directed. This variation will result in a denser, more textured bread, but still full of flavor.
By following these steps, you’ll be able to bake a perfect buckwheat flour bread recipe with ease. The result is a hearty, gluten-free loaf that’s delicious and versatile.
Expert Tips and Tricks
To ensure your buckwheat bread recipe turns out perfectly every time, here are some expert tips and tricks that will elevate your baking skills.
1. Use Fresh Buckwheat Flour
For the best flavor and texture, always use fresh buckwheat flour. If your flour is old, the bread may turn out dry or have a bitter taste. Buy in small quantities and store the flour in an airtight container in the refrigerator to keep it fresh.
2. Don’t Overmix the Dough
While mixing the wet and dry ingredients, be careful not to overwork the dough. Overmixing can lead to a dense loaf, so mix until everything is just incorporated. The buckwheat flour bread dough should be slightly lumpy.
3. Add Moisture with Buttermilk or Plant-Based Milk
Buttermilk not only provides tang but also helps with moisture retention. If you prefer a vegan version, plant-based milk works wonderfully, but don’t skip the vinegar or lemon juice to ensure proper acidity.
4. Bake at the Right Temperature
Baking your buckwheat flour bread recipe at the correct temperature is crucial. If the oven is too hot, the bread may brown too quickly on the outside while remaining raw inside. If it’s too cool, the bread may not rise as expected. Use an oven thermometer to ensure the temperature is accurate.
5. Let It Cool Completely Before Slicing
Patience is key when baking buckwheat bread. Allow the loaf to cool completely before slicing. Cutting too early can cause the bread to crumble. Letting it cool on a rack helps preserve its texture.
Make-Ahead Instructions
If you’re short on time, you can prepare the dough in advance. Once mixed, cover it and refrigerate it for up to 24 hours before baking. The longer resting time allows the flavors to develop further.
Storage Guidelines
Store your buckwheat flour bread in an airtight container at room temperature for up to 3 days. For longer storage, slice and freeze the bread, allowing individual slices to thaw in minutes whenever needed.
By following these tips, you’ll be able to troubleshoot any issues and create a loaf of buckwheat bread that’s flavorful, moist, and perfect for any occasion.
Variations and Customizations
The beauty of this buckwheat bread recipe lies in its versatility. You can easily adapt it to suit different dietary needs, preferences, or seasonal flavors. Let’s explore some variations and customizations that will make your buckwheat bread even more exciting!
1. Seasonal Adaptations
For a cozy, fall-inspired version, consider adding cinnamon, nutmeg, or cloves to the dough. A handful of dried cranberries or chopped apples can infuse the bread with seasonal sweetness and color. For spring, try adding fresh herbs like rosemary or thyme to give your buckwheat flour bread a savory twist.
- Tip: When adding fruits or nuts, reduce the amount of sweetener slightly to balance the flavors.
2. Dietary Modifications
- Vegan: This buckwheat flour bread recipe can easily be made vegan by substituting buttermilk with almond or oat milk and using maple syrup instead of honey.
- Gluten-Free: The recipe is naturally gluten-free due to the buckwheat flour, but ensure all your ingredients, such as baking soda and any plant-based milk, are certified gluten-free.
3. Flavor Variations
- Cheesy Bread: For a savory take on your buckwheat bread, add shredded cheese to the dough. Cheddar, gouda, or parmesan will all melt beautifully into the bread, creating a rich, savory flavor.
- Chocolate Buckwheat Bread: If you’re looking for a sweet twist, mix in some cocoa powder or chocolate chips to the batter. This creates a moist, dessert-like buckwheat flour bread perfect for indulgent occasions.
4. Decoration Ideas
While buckwheat flour bread has a rustic look on its own, you can add a touch of artistry to the presentation. Brush the top with olive oil before baking for a golden finish, or sprinkle sunflower or sesame seeds on top for a crunchy texture. For special occasions, try creating a decorative swirl by gently scoring the surface of the dough before baking.
By customizing this buckwheat bread recipe, you can create a bread that’s perfect for any season, dietary need, or flavor preference. Don’t hesitate to experiment with different ingredients to suit your tastes!
Serving and Presentation
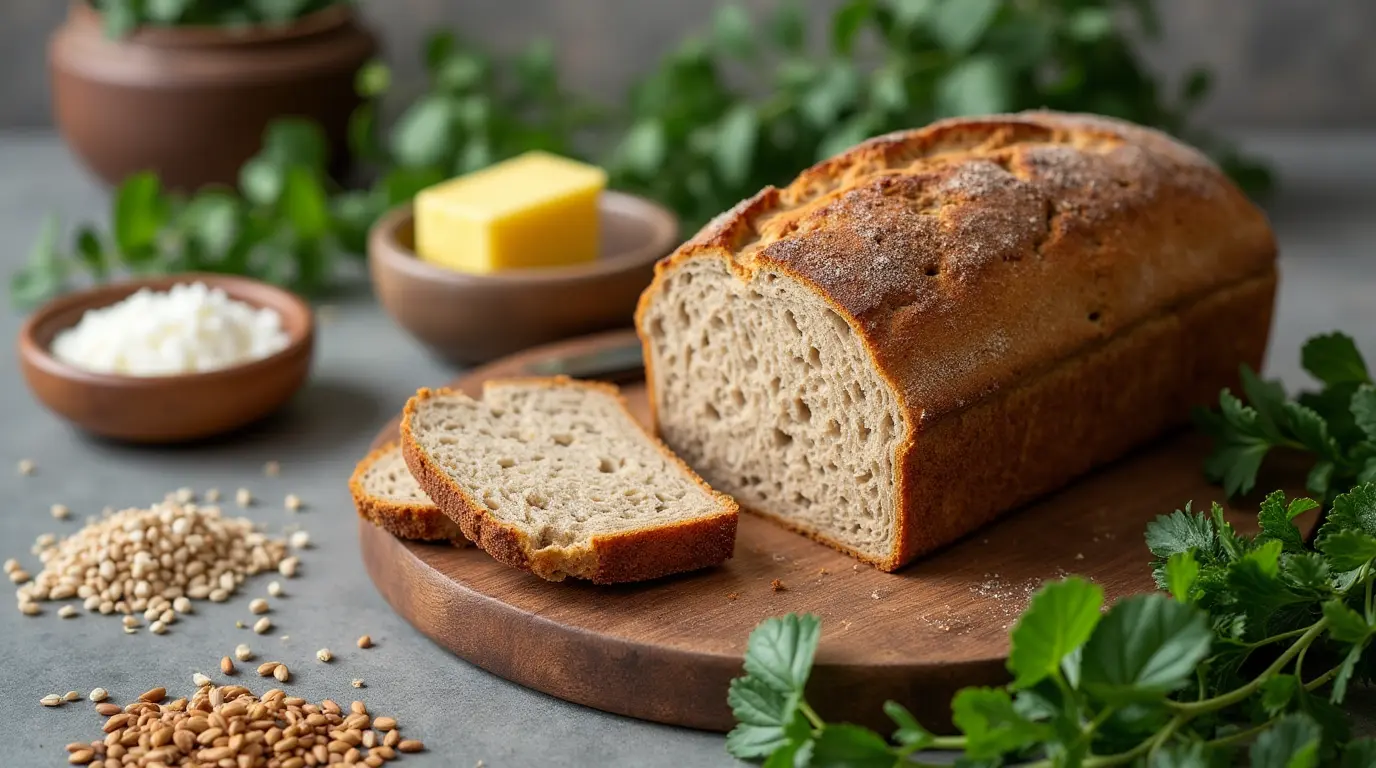
Once your buckwheat bread is baked and cooled, it’s time to serve it with style! Here are some simple yet stunning ways to present your bread, along with ideas for accompaniments and special occasion serving.
Plating Suggestions
For an elegant presentation, slice your buckwheat flour bread into thick, even slices. Arrange them in a rustic bread basket lined with a cloth napkin, allowing the bread’s beautiful, hearty texture to shine through. If you’ve added seeds on top, the crunchy finish will add visual appeal. For a more refined touch, serve slices on a wooden cutting board, paired with a butter dish or small jars of jam.
Accompaniment Recommendations
Buckwheat bread pairs wonderfully with savory or sweet accompaniments. Spread with creamy butter or avocado for a light breakfast or snack. You can also serve it alongside soups, stews, or salads. For a more indulgent treat, pair it with a drizzle of honey or your favorite fruit preserves.
- Tip: For a savory option, try adding a small bowl of olive oil infused with garlic and herbs for dipping.
Special Occasion Presentations
For special occasions, like holiday meals or family gatherings, elevate the presentation by adding garnishes such as fresh herbs or edible flowers around the bread. A rustic wooden serving platter can set the mood for a cozy, artisan meal. You can also create mini loaves for individual servings, which makes the bread feel even more special.
Photography Tips
When photographing your buckwheat bread, capture the natural texture by slicing the bread and letting the light highlight its crust. Consider using natural lighting and a simple background, like a linen cloth, to emphasize the bread’s rustic, handmade charm.
By presenting your buckwheat flour bread thoughtfully, you’ll not only impress your guests but also elevate the experience of enjoying a truly special homemade creation.
Conclusion
The buckwheat bread recipe offers a wholesome, gluten-free alternative to traditional bread with its hearty texture and nutty flavor. Whether you’re using a bread machine or mixing by hand, this versatile recipe can be easily customized to suit your taste and dietary needs. From seasonal adaptations to vegan and gluten-free modifications, the possibilities are endless.
By following the step-by-step instructions and expert tips provided, you’ll be able to bake a loaf of buckwheat flour bread that’s both satisfying and delicious. Pair it with savory spreads, serve it alongside a hearty soup, or enjoy it simply with butter for a comforting treat.
The natural goodness of buckwheat flour bread is sure to become a staple in your kitchen, and with the variations and customizations we’ve discussed, you’ll never run out of ways to enjoy this rustic, artisan creation.
Now it’s your turn to try out this recipe—whether for a special occasion or as a daily bread, your homemade buckwheat bread will bring a touch of wholesome goodness to your table. Happy baking!
FAQ Section
Here are answers to some frequently asked questions about making the buckwheat bread recipe. These tips will help ensure your bread turns out perfectly every time.
1. Can I use regular wheat flour instead of buckwheat flour?
No, buckwheat flour is gluten-free and behaves differently than wheat flour. Substituting it with regular flour will result in a different texture and rise. If you prefer to make this bread with gluten, you can experiment with a gluten-free flour blend.
2. How can I make buckwheat bread more flavorful?
To enhance the flavor of your buckwheat flour bread, try adding seasonings such as garlic powder, onion powder, or fresh herbs. You can also mix in seeds like sunflower or sesame for added texture. If you like a sweeter bread, add cinnamon, honey, or dried fruit.
3. How do I store buckwheat bread?
Store your buckwheat bread in an airtight container at room temperature for up to 3 days. To keep it fresh longer, slice and freeze the bread for up to 3 months. Thaw slices individually for a quick snack.
4. Can I make this buckwheat bread recipe in a bread machine?
Yes! A buckwheat bread machine recipe works wonderfully. Simply follow your machine’s instructions, using the gluten-free cycle to get the best texture. The machine will knead and bake the dough, leaving you with an easy, hands-off process.
5. Why is my buckwheat bread dense?
If your buckwheat bread turns out dense, it may be due to overmixing the dough or not letting it rise long enough. Buckwheat flour doesn’t rise as much as wheat flour, so be patient with the baking process, and avoid overworking the dough.
6. Can I add yeast to buckwheat bread for more rise?
Buckwheat flour doesn’t naturally rise like wheat flour, but you can experiment with adding yeast for additional lift. However, you may need to combine it with other gluten-free flours or a leavening agent to achieve the desired texture.
These answers should help you troubleshoot any issues and get the most out of your buckwheat flour bread recipe. Enjoy baking!

