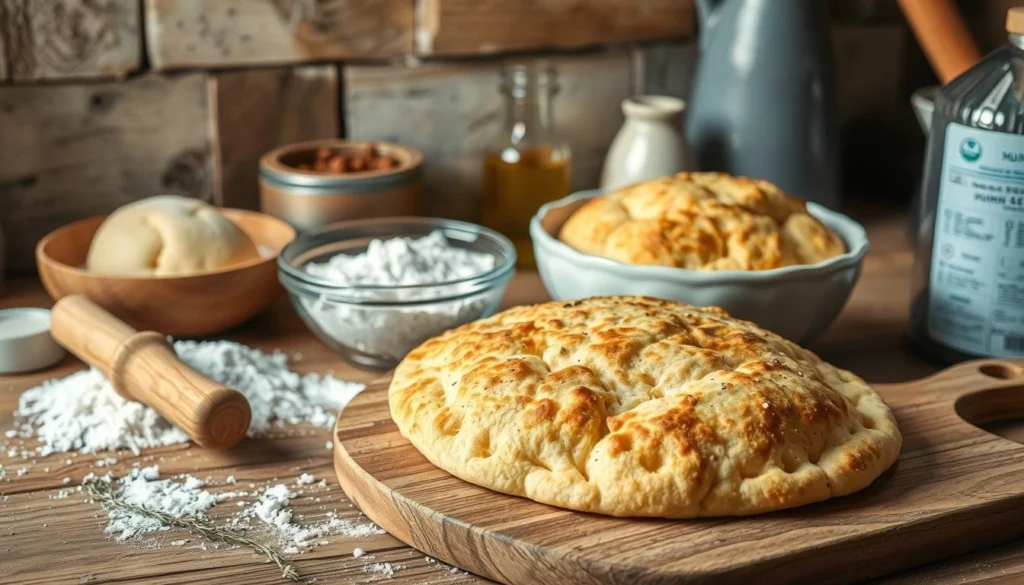
Living with gluten intolerance can be tough, especially when it comes to finding tasty bread. But today, I’m thrilled to share a recipe for homemade gluten free pita bread. It’s easy to make, soft, tender, and full of flavor. This gluten free pita bread recipe is quick and easy, taking just 15 minutes to prepare and 10 minutes to bake.
Looking to make a tasty sandwich or dip your bread in hummus? Or maybe you just want a warm, buttery pita on its own? This easy gluten free bread recipe is perfect for you. With simple ingredients and a bit of know-how, you’ll have freshly baked, gluten-free pita bread in no time. Get ready to enjoy the flavors of this homemade delight and have a versatile, gluten-free bread option at your fingertips.
Understanding Gluten Free Pita Bread
Pita bread is a beloved staple in many cuisines, particularly in the Mediterranean and Middle Eastern regions. It’s known for its pocket, perfect for sandwiches, dips, or as a side dish. This recipe makes a gluten-free version that’s just as tasty and useful.
History and Origins of Pita Bread
Pita bread has a long history, dating back to ancient times in the Middle East. It’s been a staple for many, providing a nutritious base for many dishes.
Why Choose Gluten Free Pita
People with celiac disease or gluten sensitivity can’t have regular pita bread. But, this gluten-free pita recipe lets you enjoy pita’s taste and texture without gluten. It’s made with gluten-free flours, offering a healthy and tasty option for everyone.
Common Uses and Serving Suggestions
Gluten-free pita bread is very versatile. Pita pockets are great for sandwiches, and pita chips make a tasty snack. It’s also good as a base for flatbread pizzas or with dishes like falafel and hummus. There are many ways to use this gluten-free staple in your meals.
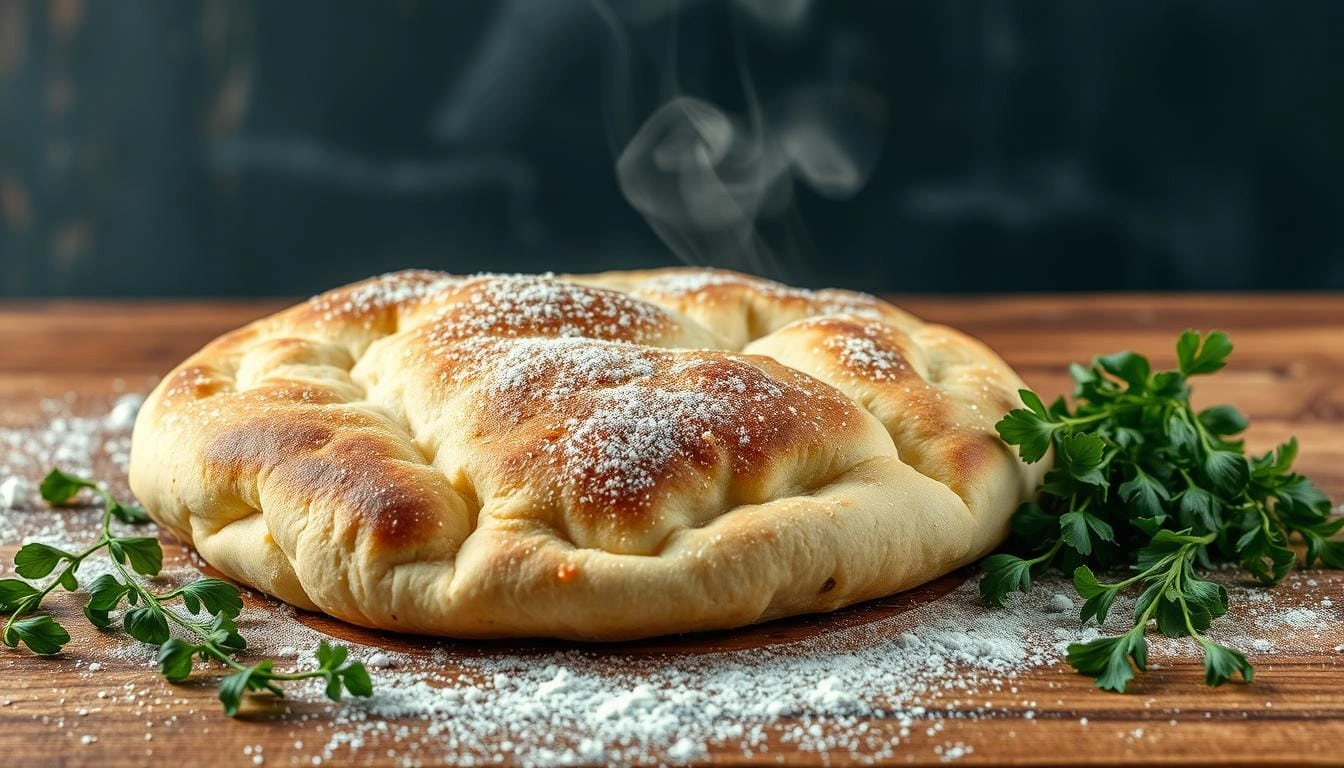
“For those with gluten restrictions, gluten-free pita bread offers a delicious and versatile alternative to traditional wheat-based options.”
Essential Ingredients for Gluten Free Pita Bread Recipe
To make delicious gluten-free pita bread at home, you need the right ingredients. Key steps in this recipe include:
- Gluten-free all-purpose flour – You’ll need 1 3/4 cups (236 grams) of gfJules™ All Purpose Gluten Free Flour or gfJules grain-free Nada Flour (192 grams).
- Instant plain gluten-free mashed potato flakes – Use 1/4 cup (16 grams) of these flakes.
- Baking powder – You’ll need 2 tsp.
- Baking soda – 1/2 tsp. is required.
- Coarse sea salt – 1/2 tsp. is called for.
- Fine sea salt – 1/4 tsp. is needed.
- Warm milk (dairy or non-dairy alternatives) – Use 3/4 cup + 2 Tbs.
- Warm yogurt (dairy or non-dairy substitute) or milk – 1/4 cup is required.
- Olive oil, vegetable oil, or coconut oil (melted) – 1 Tbs. is necessary.
Make sure all ingredients are at room temperature. This is key for the best gluten-free pita bread.
| Ingredient | Quantity |
|---|---|
| Gluten-free all-purpose flour | 1 3/4 cups (236 grams) |
| Instant plain gluten-free mashed potato flakes | 1/4 cup (16 grams) |
| Baking powder | 2 tsp. |
| Baking soda | 1/2 tsp. |
| Coarse sea salt | 1/2 tsp. |
| Fine sea salt | 1/4 tsp. |
| Warm milk (dairy or non-dairy alternatives) | 3/4 cup + 2 Tbs. |
| Warm yogurt (dairy or non-dairy substitute) or milk | 1/4 cup |
| Olive oil, vegetable oil, or coconut oil (melted) | 1 Tbs. |
Kitchen Equipment and Tools Needed
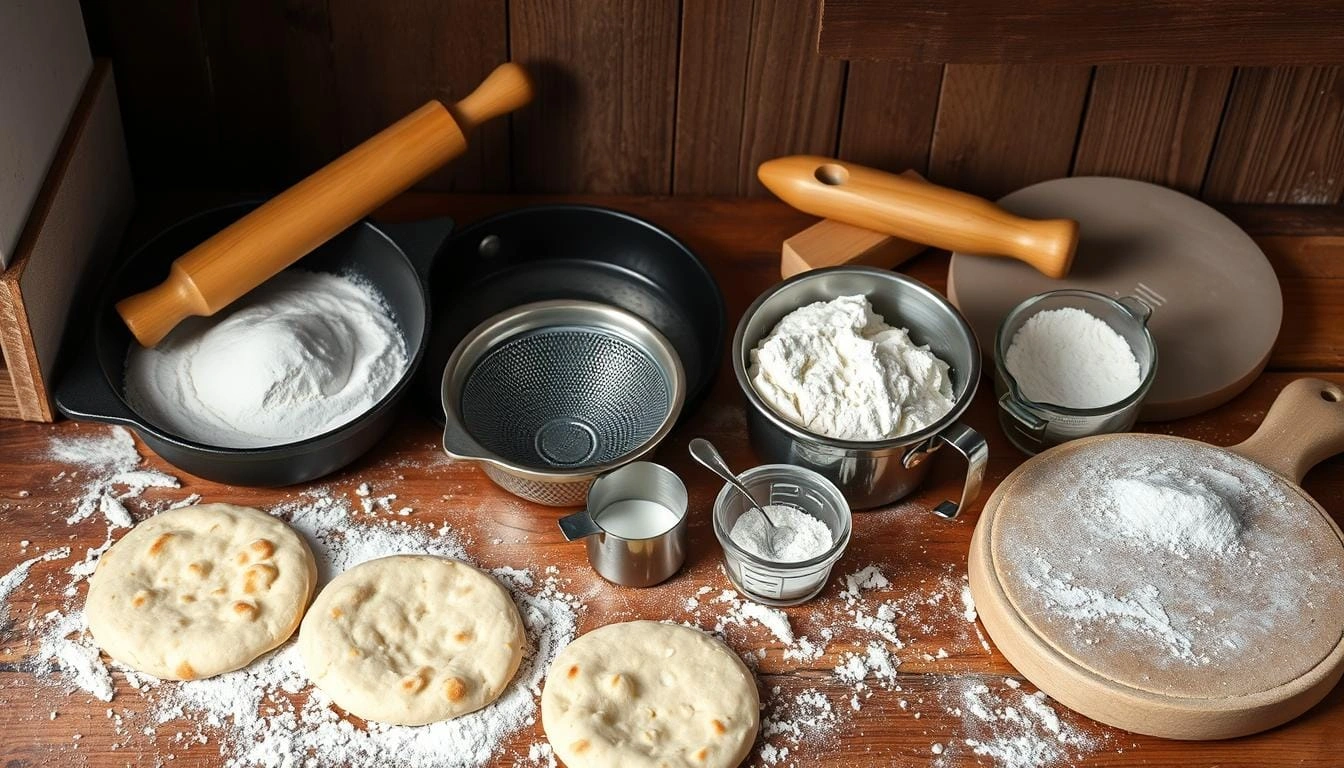
Making gluten-free pita bread needs some key baking tools and equipment. You’ll first need a big mixing bowl, a whisk, and a wooden spoon. These are for mixing the ingredients together.
A stand mixer with a paddle or a food processor with a steel blade can help. They make mixing and kneading easier and faster.
Essential Baking Tools
- Large mixing bowl
- Whisk
- Wooden spoon
- Baking sheet
Optional Equipment for Better Results
Some extra tools can help your gluten-free pita bread turn out better. A pizza stone can make your pitas brown better and taste great. A kitchen scale is also useful. It helps you measure ingredients accurately for consistent results.
- Stand mixer with paddle attachment
- Food processor with steel blade
- Pizza stone
- Kitchen scale
Having the right pita bread baking tools and gluten free bread equipment is crucial. With the right tools, you can make delicious gluten-free pita bread at home. You’ll be on your way to making tasty and authentic pitas.
Preparing Your Gluten Free Flour Blend
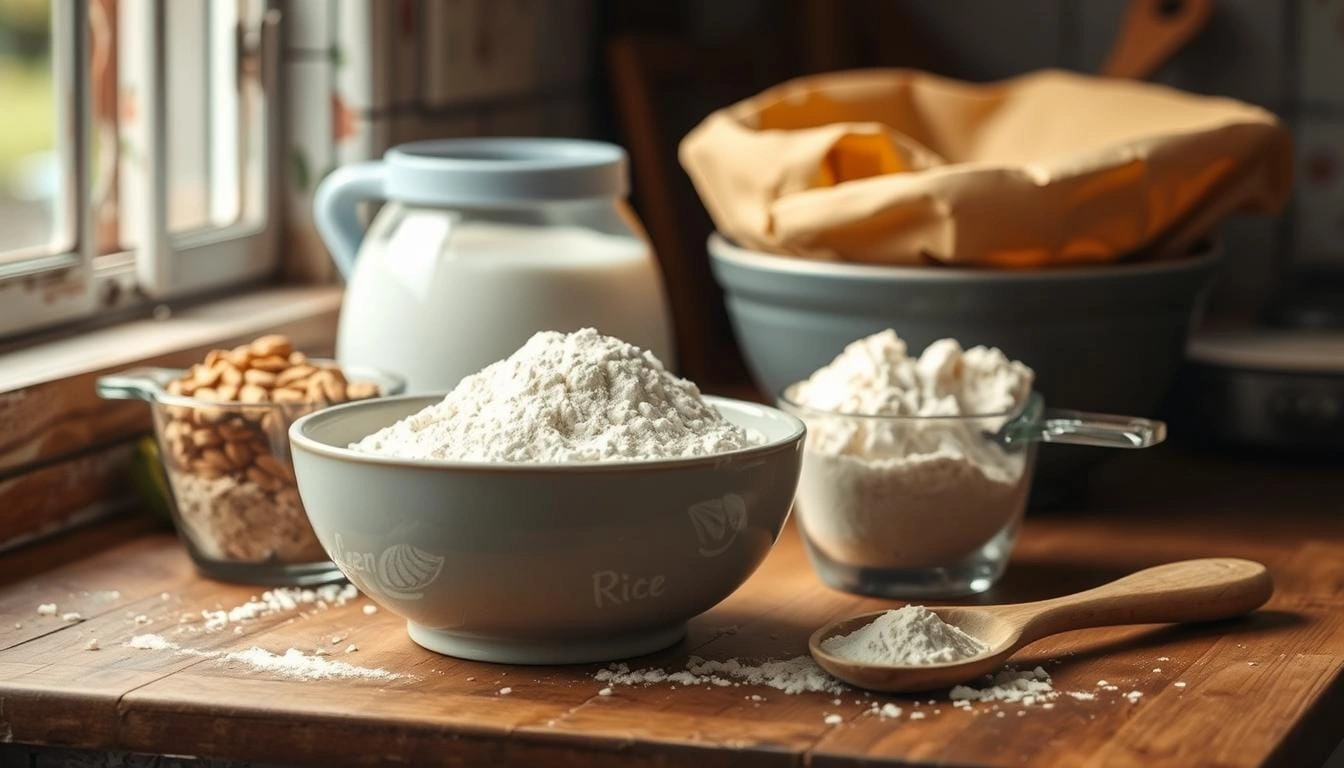
Making the perfect gluten-free pita bread begins with a balanced flour blend. It’s wise to mix several gluten-free flours for the right texture and rise. A homemade gluten free flour blend for pita often includes rice flour, tapioca starch, and psyllium husk powder.
The homemade gluten free flour mix needs careful measuring and mixing. Experts suggest using 2 parts rice flour, 1 part tapioca starch, and 1/2 part psyllium husk powder. This mix gives the bread structure, lightness, and binding properties.
To add more elasticity and stability, add a bit of xanthan gum or Expandex modified tapioca starch. These ingredients help the bread rise well and keep its shape while baking.
“A well-crafted gluten-free flour blend is the foundation for delicious and authentic-tasting pita bread.”
Try different ratios and ingredients to find what works best for you. With some practice, you’ll create a gluten free flour blend for pita that always impresses.
Step-by-Step Mixing and Kneading Process
Making tasty gluten free pita dough needs the right mix of ingredients and steps. Start by mixing the dry stuff in a big bowl. This includes flour, whole wheat flour, salt, and yeast. Whisk it all up to spread the ingredients evenly.
Then, add warm water and olive oil to the dry mix. Use a spoon or your hands to mix until it’s soft and a bit sticky. This should take about 2-3 minutes of kneading.
Proper Dough Consistency
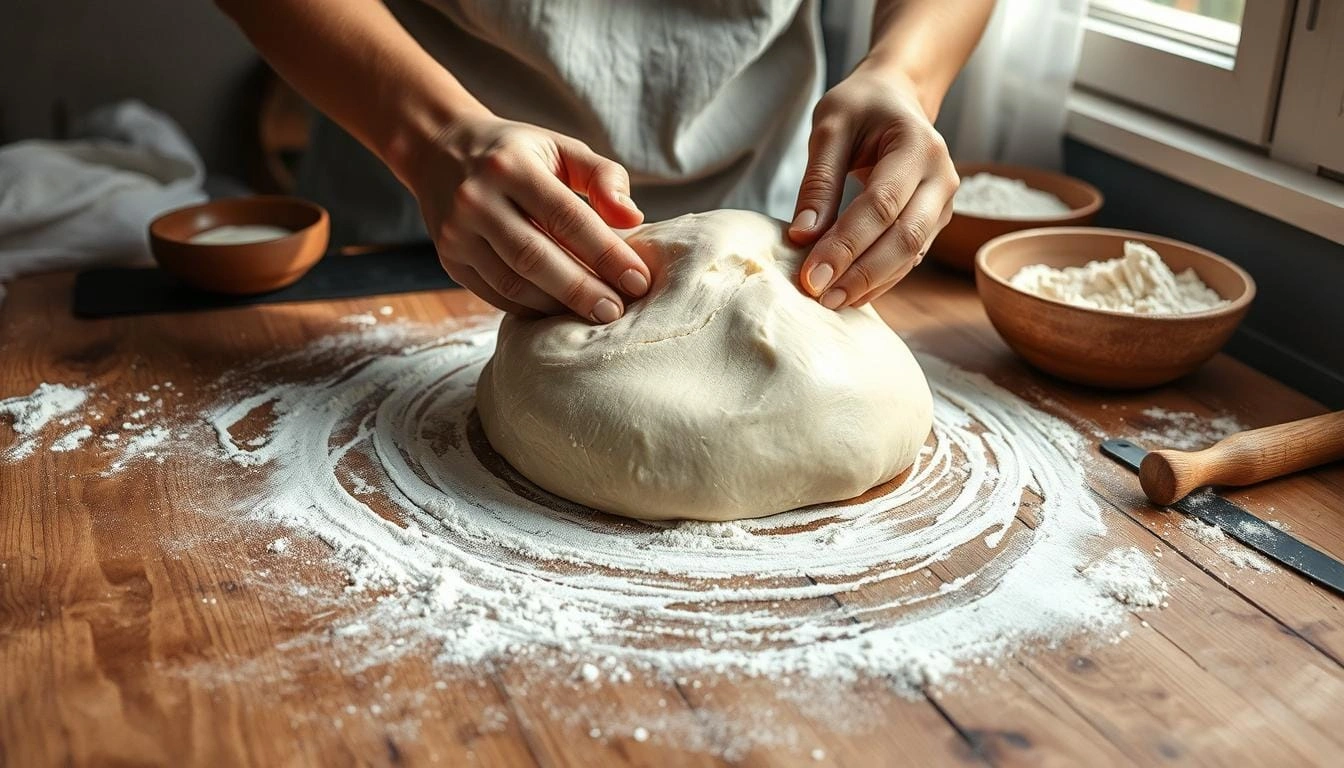
The secret to great kneading gluten free bread is the dough’s texture. It should feel sticky but still be easy to handle. Don’t overwork it, or your pitas will be dense.
Kneading Techniques
- Knead the dough for about 7 minutes until it’s smooth and silky.
- Work the dough gently, folding it over and pressing down with your hand.
- If the dough sticks, dust your hands with flour.
- Shape the dough into a smooth ball and transfer it to a greased bowl.
- Cover the bowl with a damp towel or plastic wrap to prevent drying. Let it rise in a warm, draft-free spot for 1 to 1 1/2 hours, until it doubles in size.
With the right gluten free pita dough and kneading, you’re ready to bake delicious gluten-free pita bread.
Rolling and Shaping Techniques
Learning to roll and shape gluten-free pita dough is key for perfect results. Here’s a step-by-step guide to help your homemade gluten-free pita bread turn out great every time.
- Divide the risen dough into equal portions, about 73 grams each, to create 6 round pitas.
- Using your fingers or a rolling pin, gently flatten each portion into a disc approximately 1/3-inch thick. Aim for an even thickness rather than a perfectly round shape.
- If the dough is too sticky to handle, lightly flour your work surface or use parchment paper to prevent it from sticking.
- Allow the rolled-out dough rounds to rest for 30 minutes before baking. This resting period helps the gluten relax and prevents the pitas from shrinking during the baking process.
After shaping your dough, it’s time to bake the gluten-free pita to perfection. Preheat your oven to a scorching 475°F, ensuring your oven is blazing hot for the best puffing action. Bake the pitas in batches, two at a time, for about 6-8 minutes until they’re golden brown and have formed delightful pockets.
| Technique | Time | Temperature | Yield |
|---|---|---|---|
| Divide dough into portions | – | – | 6 rounds |
| Roll out dough to 1/3-inch thickness | 30 minutes | – | – |
| Bake pitas | 6-8 minutes | 475°F | – |
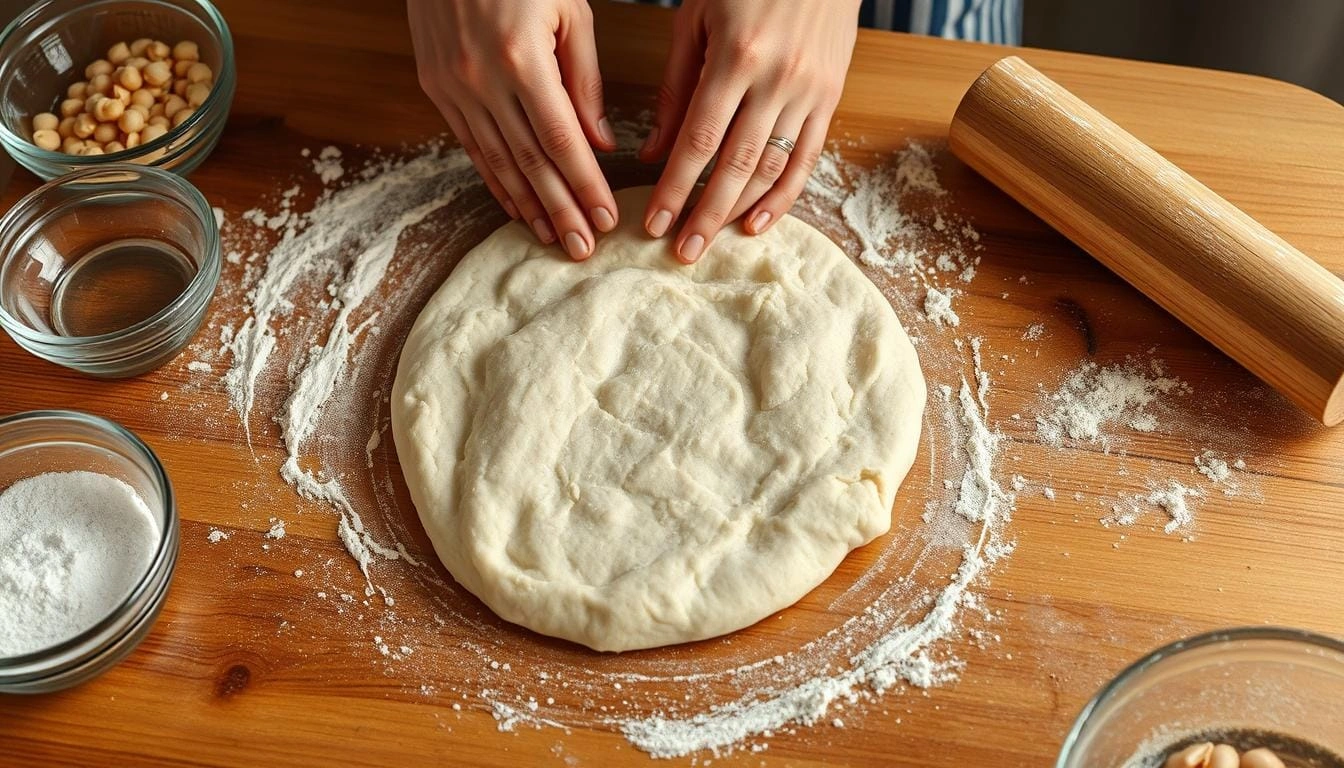
With these simple techniques, you’ll soon be enjoying fresh, homemade gluten-free pita that rivals any store-bought version. Get ready to impress your friends and family with your newfound pita-shaping skills!
Baking Methods and Temperature Guidelines
To make perfect gluten-free pita bread, you need to get your oven ready. Preheat it to 475°F (245°C) or heat a skillet on the stovetop. For oven baking, use a preheated baking stone or an upside-down baking sheet.
When it’s time to bake, put the dough rounds in the oven. Cook them for 7-8 minutes. Watch them closely for a light golden-brown color. Flip them halfway to brown evenly.
Oven Preparation Tips
To bake gluten free pita right, create a steamy oven. This helps the dough puff up. Preheat your oven very hot before adding the pita bread pockets. A baking stone or sheet tray helps spread the heat, making the pockets.
Achieving the Perfect Pocket
The oven’s high heat and the dough’s moisture make the pita bread pockets puff up. Watch the pitas closely as they bake. Flip them halfway for even cooking. With practice, you’ll make perfectly puffy gluten free pita every time.
| Baking Time | Baking Temperature | Dough Portion Size | Pita Bread Yield |
|---|---|---|---|
| 7-8 minutes | 475°F (245°C) | Approx. 73 grams per portion | 6 pieces |
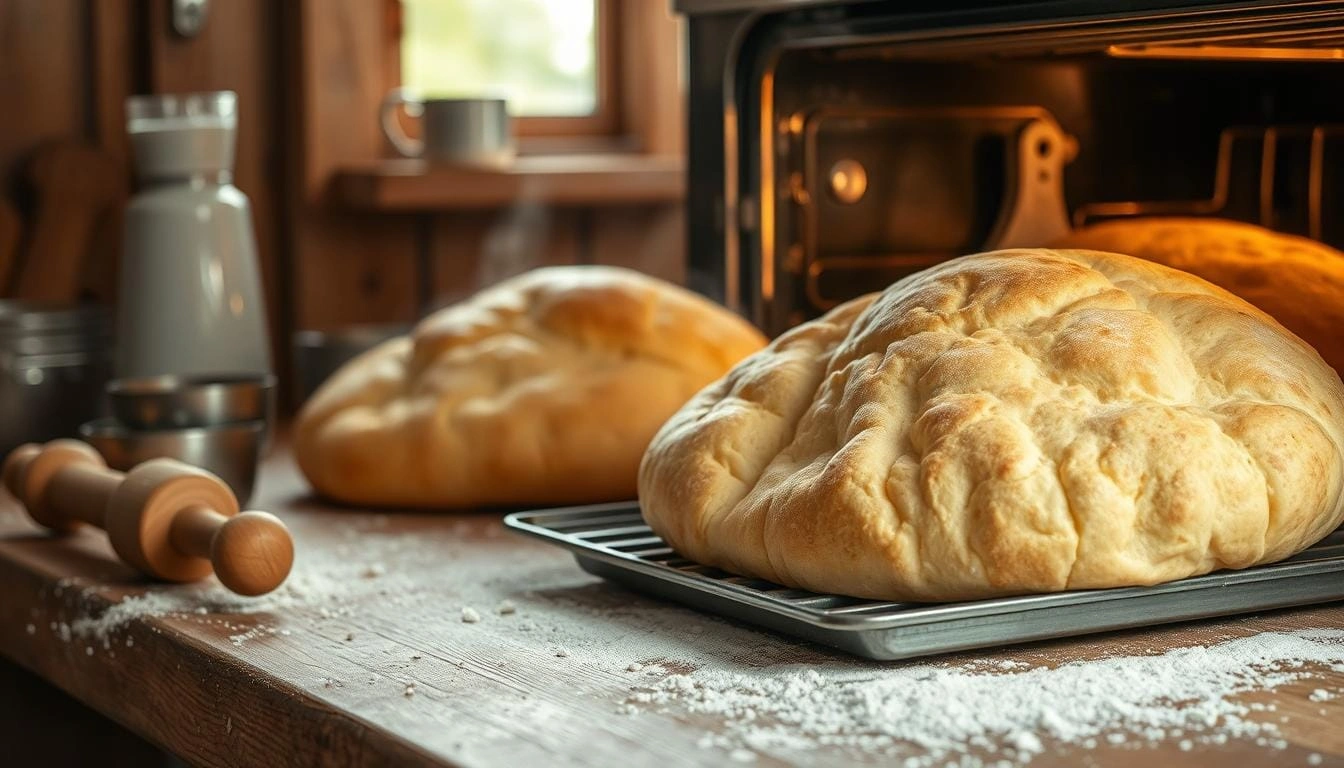
“The high heat helps create steam, which forms the characteristic pocket.”
Storage and Reheating Tips
Learn how to store and reheat your gluten free pita bread for the best taste. These tips will help you enjoy your homemade pitas for days. They stay soft and fluffy.
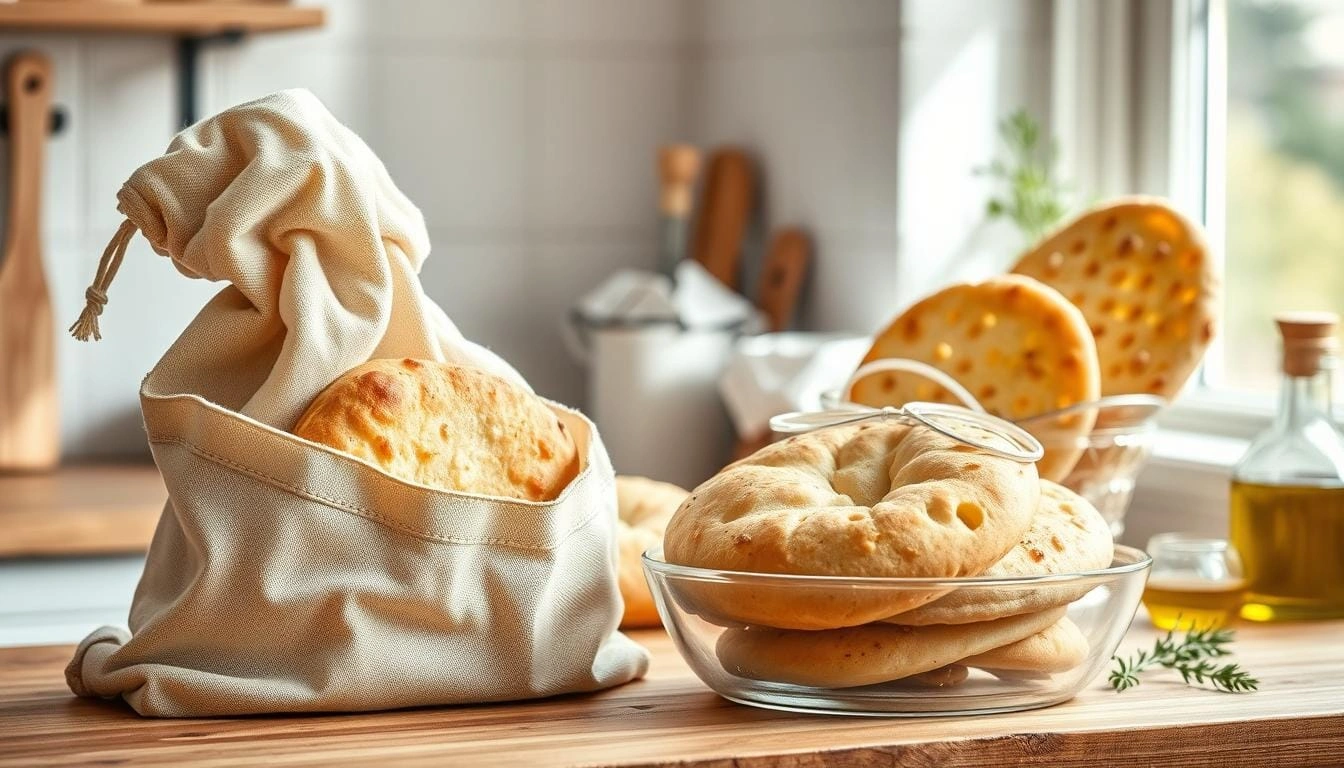
To keep your cooled pita bread fresh, store them in an airtight container or zip-top bag. They’ll last 2-3 days at room temperature. For extended storage, freeze the pita bread for up to three months. Just thaw them completely before reheating.
There are easy ways to reheat your pitas. The oven is a good choice. Place them on a baking sheet and warm at 350°F for 5-7 minutes. You can also reheat them in a hot skillet or griddle for 1-2 minutes per side.
For a quick microwave reheat, wrap the pitas in a damp paper towel. Microwave in 20-second intervals until warm. This keeps them soft and pocketed. Avoid overheating to prevent drying out.
With these tips, you can enjoy your gluten free pita bread anytime. Whether for lunch or as a side, freshly reheated pitas are always a delight.
Troubleshooting Common Issues
Baking gluten-free pita bread can be tricky, but with some tips, you can fix common problems. This way, you’ll get delicious, fluffy results. Here are solutions for the most common issues when making gluten-free pita bread.
Common Problems and Solutions
If your pitas don’t puff up, try rolling the dough thinner or baking at a slightly higher temperature. Ensure your yeast is fresh and active for optimal results. Also, adjust the liquid in the dough if it’s too dry or sticky.
For dense pitas, don’t overwork the dough and let it rise enough. If the pitas crack, add more Expandex or a bit more liquid to the dough.
Texture and Rising Issues
- Gluten-free flour blends with different starches can affect the dough’s texture and rise.
- Using expired or wrong yeast can stop the dough from rising and puffing.
- Wrong dough rising method or proofing temperature can make the pitas dense and gummy.
For the best results, use a yeast-friendly gluten-free flour blend. Proof the dough at the right temperature, and check that your yeast is fresh and active. With practice, you’ll soon be baking fluffy, pillowy pita bread!
“Crafting exceptional gluten-free pita bread requires attention to detail, from selecting the right flour mix to mastering rising and baking techniques. A little troubleshooting can go a long way in achieving that perfect puff.”
Variations and Dietary Modifications
Make your gluten-free pita bread even better by trying different variations. You can make vegan pita bread or adjust it for those who can’t have dairy. The options are endless.
To make vegan pita bread, use plant-based milk like almond or oat milk instead of dairy. Replace eggs with chia eggs or aquafaba for the right texture and rise.
For dairy-free pita bread, use the same non-dairy milk. Add fresh herbs, spices, or seeds for extra flavor. Try making mini or unique shapes for a fun look.
| Ingredient | Vegan Pita Bread | Dairy-Free Pita Bread |
|---|---|---|
| Milk | Unsweetened almond milk or oat milk | Unsweetened almond milk or oat milk |
| Eggs | Chia eggs or aquafaba | Chia eggs or aquafaba |
| Additions | Fresh herbs, spices, seeds | Fresh herbs, spices, seeds |
| Shaping | Mini pitas, unique shapes | Mini pitas, unique shapes |
Customize your gluten-free pita bread to fit your diet and taste. A bit of creativity can turn it into a delicious, versatile treat that meets your needs.
Conclusion
This easy homemade gluten-free pita bread recipe is a tasty swap for store-bought ones. It uses simple ingredients and methods to make soft, fluffy pitas. You’ll love the fresh, preservative-free pita bread that fits your diet and taste.
Easy gluten-free bread recipes let you add healthy ingredients like almond flour, flaxseed, and chia seeds. This boosts the nutritional value. You can choose between a traditional yeast dough or a baking powder version. The guide helps you make the perfect pita pocket.
Make your mealtime better with this homemade gluten-free pita bread recipe. Use it with your favorite dips or fillings, or with a balanced meal. Homemade pita beats store-bought in freshness and smell.

