If you’ve ever had the pleasure of tasting a goumi berry, then you know just how magical these tiny, tart fruits can be. Imagine their delicate flavor enveloped in a rich, buttery crust, with just the right balance of sweetness. That’s the allure of goumi pie recipes—they’re a unique dessert that delights the senses and offers something completely different from the usual berry pies you might be accustomed to. The combination of the goumi berry’s subtle tang and the comforting pie texture creates a treat that’s nothing short of sensational.
For me, making goumi pie is a way to connect with the past. Growing up, I remember visiting family orchards where goumi berry plants thrived, and the berries were harvested each season for homemade desserts. The tradition of creating recipes for goumi berry pie has been passed down through generations, and each time I bake it, I’m reminded of those cherished moments. It’s no surprise that this recipe works so well—its balance of flavors and textures, along with the versatility of the goumi berry, makes it the perfect dessert for any occasion.
What sets this recipe apart is the unique goumi berry taste. These small, red gems may be new to some, but once you try them, you’ll be hooked. Whether you’re making it for a family gathering or a special treat, goumi pie recipes offer the perfect blend of tart and sweet that everyone will love.
Quick Recipe Card: Goumi Pie Recipe

Prep Time: 20 minutes
Cook Time: 45 minutes
Total Time: 1 hour 5 minutes
Difficulty Level: Easy to Moderate
Servings: 8
Nutritional Information (Per Serving):
- Calories: 320
- Protein: 4g
- Carbohydrates: 45g
- Fat: 12g
Equipment Needed:
- 9-inch pie pan
- Mixing bowls
- Rolling pin
- Pastry cutter or knife
Ingredients:
- 2 cups (500g) fresh goumi berries
- 3/4 cup (150g) granulated sugar
- 1/4 cup (30g) cornstarch
- 1/4 teaspoon ground cinnamon
- 1/4 teaspoon salt
- 2 pie crusts (homemade or store-bought)
- 1 egg (for egg wash)
Instructions:
- Preheat oven to 375°F (190°C).
- Toss goumi berries, sugar, cornstarch, cinnamon, and salt in a bowl until well-coated.
- Roll out the dough and carefully lay it into the pie dish. Add the berry mixture.
- Cover with the second crust, crimp edges, and cut slits for ventilation.
- Brush with egg wash and bake for 45 minutes until golden brown.
- Cool for 1 hour before serving.
These goumi pie recipes are simple, delightful, and packed with the distinctive taste of goumi berries. Perfect for any occasion!
Ingredient Deep Dive: Unlocking the Secrets of the Perfect Goumi Pie
The success of any dessert lies in its ingredients, and these goumi pie recipes are no exception. Each component plays a crucial role in creating a pie that is both delicious and memorable.
Goumi Berries: The Star of the Show
The goumi berry is the highlight of this pie. With its striking red hue and delicate tangy-sweet flavor, it transforms a simple dessert into something extraordinary. Goumi berries are packed with antioxidants and vitamins, making them a nutritious choice for baking. If fresh goumi berries are unavailable, frozen ones can be used, though the fresh variety provides a superior texture and flavor.
Substitutions: If goumi berries aren’t accessible, cranberries or red currants can serve as a substitute, though the unique taste of goumi berries is irreplaceable.
Sugar: Balancing Sweetness
Granulated sugar is used to balance the tartness of the goumi berries. For a healthier option, substitute with coconut sugar or a natural sweetener like honey. However, note that these alternatives may slightly alter the flavor and texture.
Cornstarch: The Thickening Agent
Cornstarch is essential for creating a thick, glossy filling. It helps bind the juices released by the goumi berries during baking. If unavailable, arrowroot powder or tapioca starch are excellent substitutes.
Cinnamon and Salt: Flavor Enhancers
A pinch of cinnamon adds warmth and depth to the pie, while a touch of salt balances the flavors. Together, they elevate the taste of the goumi berry filling.
Pie Crust: The Base of Perfection
The pie crust provides the foundation for this dessert. A homemade buttery crust is always a winner, but store-bought options work just as well for convenience. Choose a crust that’s sturdy enough to hold the filling but flaky enough to melt in your mouth.
Tips for Success:
- Chill the dough before rolling to minimize shrinking.
- For a gluten-free option, use a mix of almond flour and gluten-free all-purpose flour.
Egg Wash: The Golden Finish
Brushing the top crust with an egg wash creates a shiny, golden-brown appearance that adds to the pie’s visual appeal.
Storage Tips:
- Store the baked pie at room temperature for up to 2 days or refrigerate for up to 5 days.
- If freezing, wrap the unbaked pie tightly in plastic wrap and foil; bake directly from frozen, adding a few extra minutes to the cook time.
With these insights, you’re equipped to make these goumi pie recipes truly shine!
Equipment Needed: Tools for Perfect Goumi Pie Recipes
To create these delightful goumi pie recipes, having the right equipment is essential. While some tools are non-negotiable, there are budget-friendly and alternative options to suit every baker’s needs.
Essential Tools
- 9-inch Pie Pan: The ideal size for this recipe, providing even baking and a beautiful presentation. Glass or ceramic pans are preferred for their ability to distribute heat evenly.
- Rolling Pin: A sturdy rolling pin ensures your crust is rolled out evenly, which is key to a uniform bake.
- Mixing Bowls: Use at least two—one for the goumi berry mixture and one for preparing the crust. Stainless steel bowls work well as they stay cool, helping with dough consistency.
- Pastry Cutter or Knife: Perfect for trimming excess dough and creating decorative edges or lattice tops.
Alternative Options
- If you don’t have a pie pan, a shallow cake pan can work in a pinch.
- No rolling pin? A clean wine bottle serves as an excellent substitute.
- For mixing, any large bowl will suffice, but chilled bowls are ideal for working with pastry.
Care and Maintenance Tips
- Use non-abrasive sponges to clean pie pans to maintain their finish.
- Keep your rolling pin and pastry cutters dry to prevent rust or warping.
- Store your tools in a cool, dry place to ensure longevity.
Budget vs. Premium Options
While premium tools like marble rolling pins or ceramic pie pans can enhance the baking experience, budget-friendly alternatives work just as well. The key is to prioritize functionality over frills.
With the right tools in hand, baking these recipes for goumi pie becomes a breeze. Let’s gear up and move on to the step-by-step instructions!
Step-by-Step Instructions: Perfecting Goumi Pie Recipes

Follow these detailed steps to create the most delightful goumi pie recipes. Each step ensures your pie turns out beautifully baked and bursting with the unique flavor of goumi berries.
Step 1: Prepare the Pie Crust
- If using a homemade crust, roll out the dough on a floured surface to about 1/8 inch (3mm) thickness.
- Carefully place the crust into a 9-inch pie pan, pressing it gently into the corners. Trim any excess dough, leaving a slight overhang for crimping later.
- Chill the prepared crust in the refrigerator for at least 20 minutes to prevent shrinking during baking.
Pro Tip: If the dough cracks while rolling, patch it up with a small piece of dough and press gently to seal.
Step 2: Make the Goumi Berry Filling
- In a mixing bowl, combine 2 cups (500g) of fresh goumi berries, 3/4 cup (150g) granulated sugar, 1/4 cup (30g) cornstarch, 1/4 teaspoon cinnamon, and a pinch of salt. Toss until the berries are well-coated.
- Let the mixture sit for 10 minutes. This allows the berries to release their juices and ensures the flavors meld together.
Avoid This Pitfall: Overmixing can crush the berries, leading to a runny filling.
The goumi berry taste—tangy and sweet—becomes even more pronounced after sitting, giving your pie a rich flavor.
Step 3: Assemble the Pie
- Preheat your oven to 375°F (190°C).
- Pour the goumi berry filling into the chilled pie crust, spreading it evenly.
- Roll out the second crust and lay it over the filling. Trim the edges and crimp them to seal the pie securely.
- Cut 4-5 small slits on the top crust using a sharp knife to allow steam to escape.
Optional: For a decorative touch, you can opt for a lattice top.
Step 4: Add the Finishing Touches
- Brush the top crust with an egg wash (1 beaten egg mixed with 1 tablespoon of water) to achieve a golden, glossy finish.
- Sprinkle a teaspoon of sugar over the crust for extra texture and sweetness.
This step enhances the appearance and highlights the pie’s vibrant filling, a hallmark of the best recipes for goumi pie.
Step 5: Bake the Pie
- Place the assembled pie on a baking tray to catch any spills.
- Bake in a preheated oven for 45 minutes, or until the crust is golden and the filling is bubbling.
- Check halfway through baking—if the edges are browning too quickly, cover them with aluminum foil to prevent burning.
Visual Cue: The pie is done when the filling bubbles through the slits and the crust is a rich golden hue.
Step 6: Cool and Serve
- Once baked, transfer the pie to a wire rack to cool for at least an hour. This cooling time allows the filling to set, making it easier to slice.
- Serve warm or at room temperature, optionally topped with a scoop of vanilla ice cream or a dollop of whipped cream.
The goumi berry taste pairs beautifully with these accompaniments, enhancing its tangy-sweet notes.
Timing Tip: For make-ahead baking, prepare the pie and refrigerate it unbaked for up to 24 hours, then bake fresh when needed.
By following these steps, your goumi pie recipes will always turn out perfectly, showcasing the unique qualities of the goumi berry plant. Let’s move on to expert tips and tricks to refine your baking!
Expert Tips and Tricks: Mastering Goumi Pie Recipes
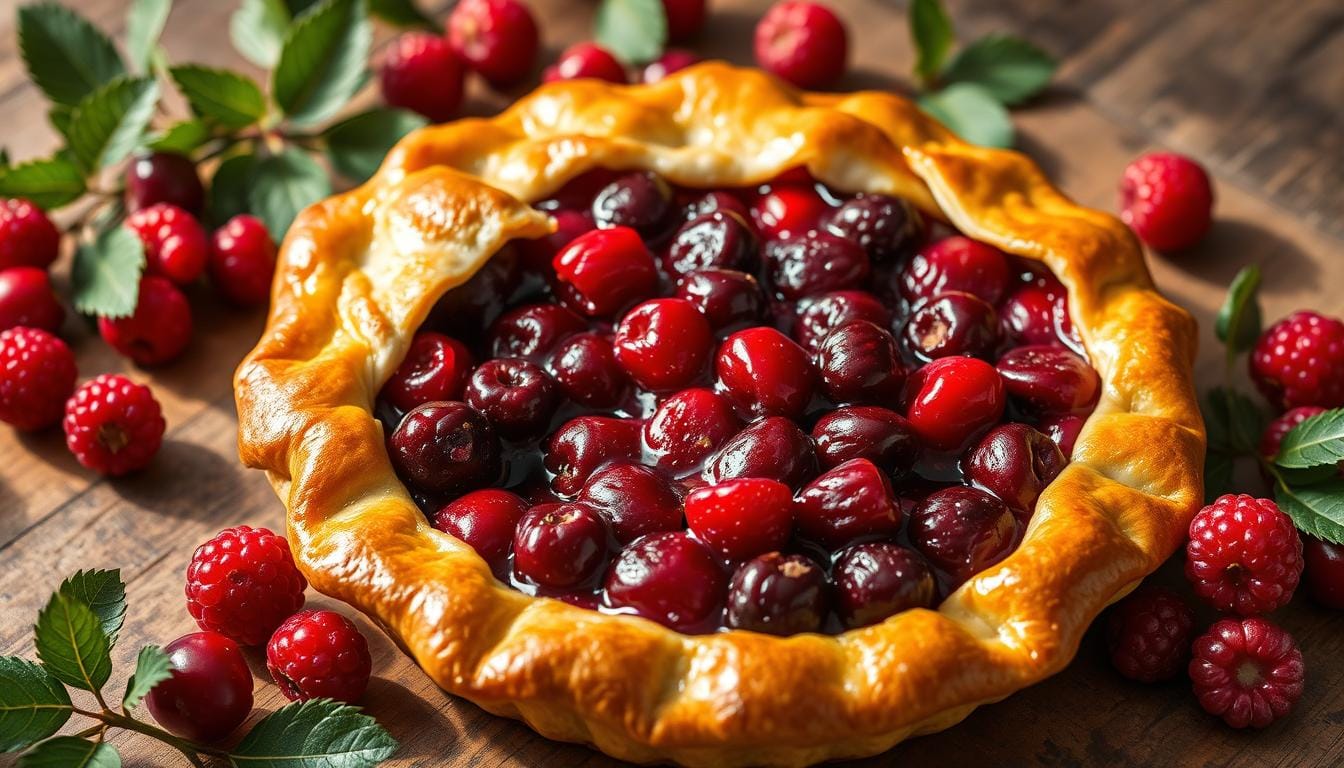
Creating the perfect goumi pie recipes is as much about technique as it is about ingredients. Follow these expert tips to perfect your pie every time.
Perfect the Crust
- Always chill your dough before rolling it out. A cold crust prevents shrinking and promotes a flaky texture.
- Use a mix of butter and shortening for the ultimate balance of flavor and structure.
- If working with a pre-made crust, let it sit at room temperature for 10 minutes before rolling to avoid cracking.
Highlight the Goumi Berry Taste
- Add a teaspoon of lemon juice to enhance the natural tanginess of the goumi berries.
- For a richer filling, mix a tablespoon of melted butter into the berry mixture before baking.
- Taste your berries beforehand—if they’re overly tart, adjust the sugar accordingly.
Troubleshoot Common Issues
- Runny Filling: Ensure your recipes for goumi berry pie include enough cornstarch or use tapioca starch as a backup thickener.
- Burnt Edges: Shield the crust edges with aluminum foil or a pie crust shield halfway through baking.
- Soggy Bottom: Pre-bake the bottom crust for 10 minutes before adding the filling.
Make Ahead and Storage Tips
- Prepare the pie filling in advance and refrigerate it for up to 24 hours.
- Refrigerate baked pies for up to 5 days. Reheat at 325°F (160°C) for 10-15 minutes to restore freshness.
- Freeze unbaked pies wrapped in plastic wrap and foil for up to 3 months. Bake directly from frozen, adding 10 extra minutes to the bake time.
These insights will elevate your recipes for goumi pie and ensure you consistently bake like a pro. Ready for variations and customizations? Let’s explore how to make your pie truly unique!
Variations and Customizations: Personalizing Your Goumi Pie Recipes
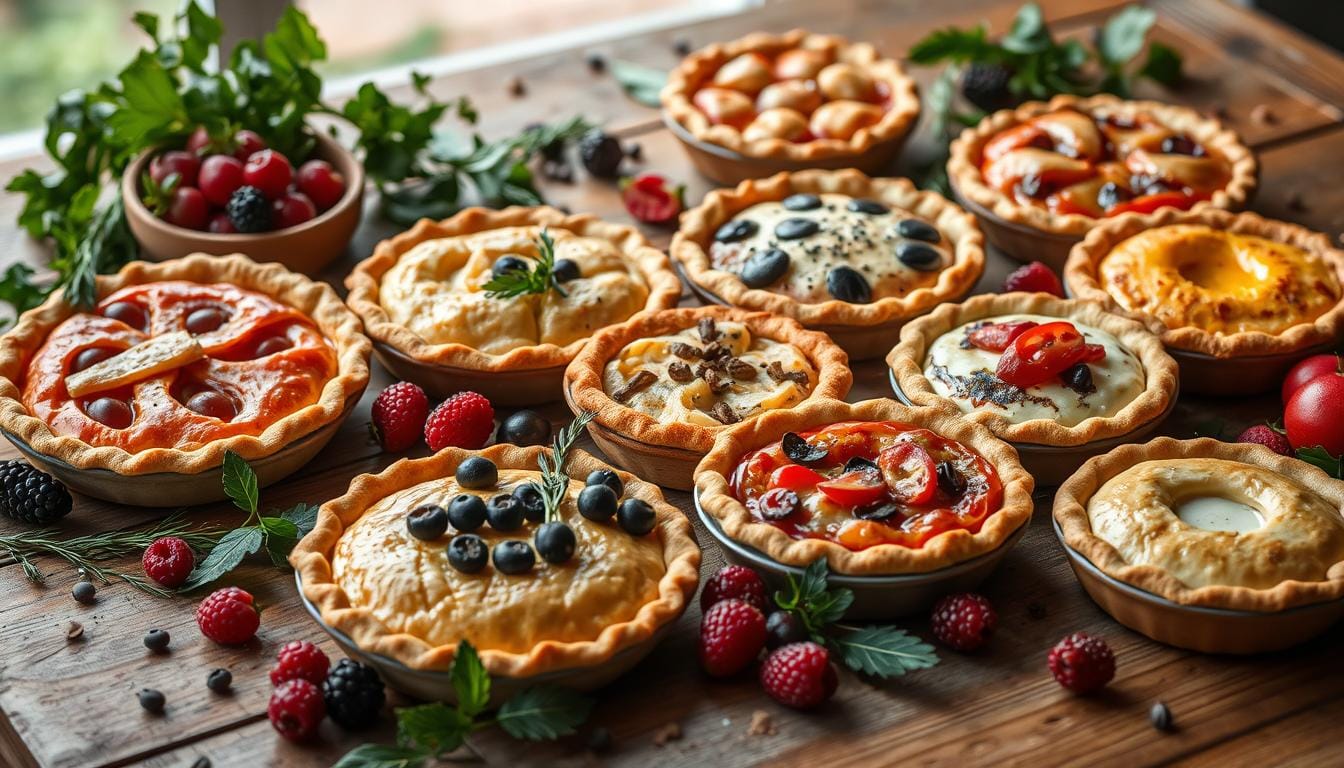
The beauty of goumi pie recipes lies in their versatility. Whether adapting for dietary needs, seasonal availability, or creative flavors, there’s plenty of room for experimentation.
Seasonal Adaptations
- Summer Twist: Add a handful of fresh strawberries or raspberries to the filling. Their sweetness complements the tangy goumi berry taste beautifully.
- Fall Warmth: Incorporate spices like nutmeg, cloves, or allspice to give the pie a cozy, autumnal vibe.
Dietary Modifications
- Gluten-Free: Substitute the pie crust with a store-bought gluten-free alternative or make your own using almond flour and gluten-free all-purpose flour.
- Vegan Option: Replace the butter in the crust with plant-based alternatives and skip the egg wash. For a vegan-friendly crust, substitute coconut oil for butter.
Flavor Variations
- Citrus Infusion: Add orange zest to the filling for a bright, citrusy kick.
- Nutty Layers: Sprinkle chopped nuts like almonds, pecans, or walnuts on the bottom crust before adding the filling for a crunchy texture and enhanced flavor.
- Chocolate Delight: Drizzle melted dark chocolate over the cooled pie for a luxurious finish.
Decoration Ideas
- Create a lattice crust with dough strips for a rustic look.
- Use small cookie cutters to shape dough into stars or hearts and place them on top for a playful touch.
- Dust the finished pie with powdered sugar for a professional finish.
With these customizations, you can transform your recipes for goumi berry pie into showstopping desserts tailored to any occasion. Next, let’s explore how to serve and present your masterpiece!
Serving and Presentation: Showcasing Your Goumi Pie Recipes
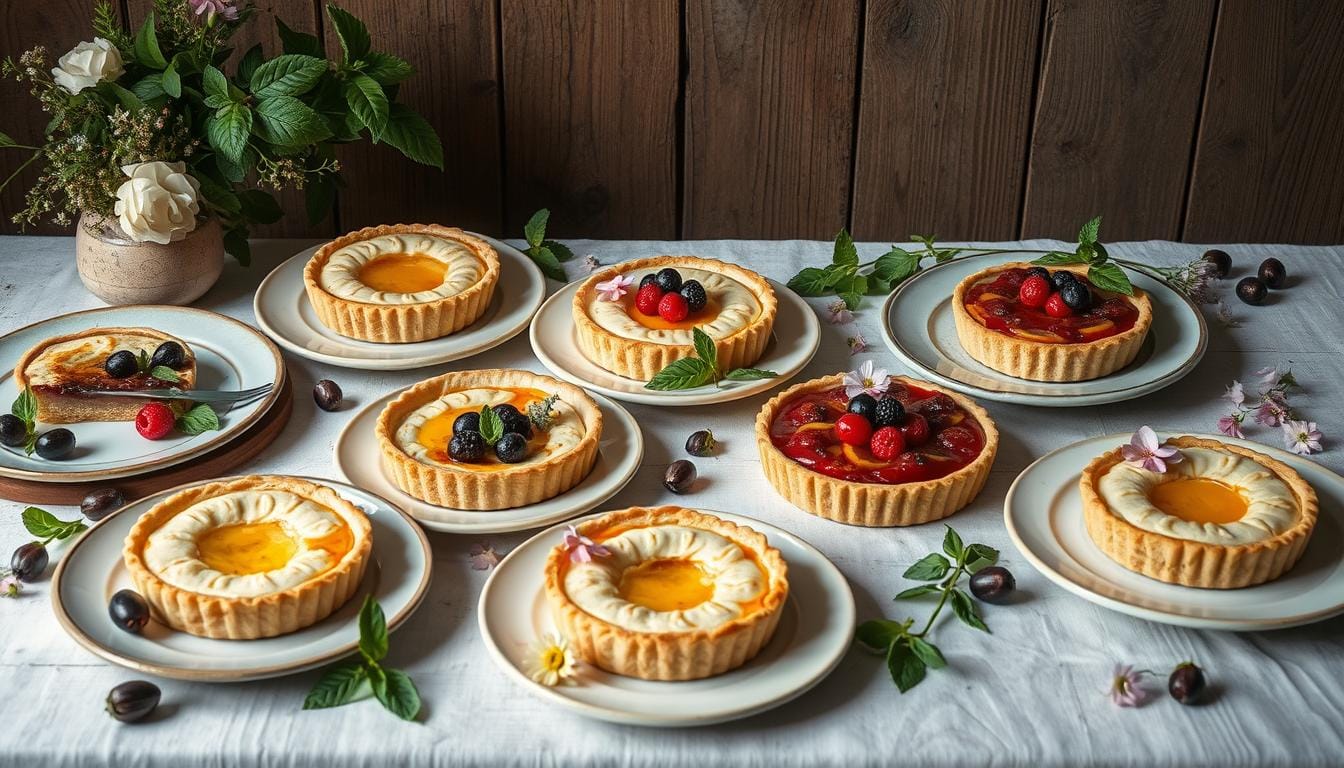
The final touch to any goumi pie recipe is the presentation. Serving this delicious dessert with style not only enhances the experience but also makes it the star of any occasion.
Plating Suggestions
Serve slices of your goumi pie on elegant plates, adding a fresh mint sprig or a dollop of whipped cream on top for a sophisticated touch. For an added burst of color, scatter a few whole goumi berries around the plate.
Accompaniment Recommendations
Pair your goumi pie with vanilla ice cream to complement the berries’ tangy sweetness, or add a spoonful of crème fraîche for a rich and tangy contrast.
- Hot Beverage Pairing: Serve with a cup of Earl Grey tea or a spiced chai latte to balance the flavors.
- Wine Pairing: A light, fruity dessert wine, such as a Moscato or Riesling, pairs beautifully with the tartness of the goumi berry taste.
Special Occasion Presentations
For holidays or gatherings, consider using a pie stand to elevate the presentation. Garnish the pie with edible flowers or finely chopped pistachios for a festive, gourmet look.
- Visual Appeal: The deep red filling and golden-brown crust make this pie a natural centerpiece for a dinner party or celebration.
Photography Tips for Social Sharing
For those sharing on social media, ensure natural lighting to highlight the vibrant colors of the pie. A top-down shot works best for capturing the full pie or a beautifully plated slice.
- Focus on the details—the crispy crust, the vibrant goumi berries, and the glossy filling will make your goumi pie recipe irresistible to your followers.
These presentation tips will elevate your goumi berry pie and make it the star of any table.
Conclusion: Create Your Own Goumi Pie Masterpiece!
There’s no doubt that goumi pie recipes offer a unique and delicious way to enjoy the tangy sweetness of goumi berries. With its flaky crust and rich, juicy filling, this dessert is sure to become a favorite in your recipe collection. Whether you follow the classic version or experiment with creative variations, each pie is a testament to the versatility and beauty of this underappreciated fruit.
So, gather your ingredients, try your hand at these recipes for goumi berry pie, and enjoy the delightful taste of goumi berry pie that will leave everyone asking for more. Remember, perfecting the pie is as much about enjoying the process as it is about the final result.
Ready to bake? Don’t forget to share your pie creations with friends and family, or even on social media—goumi pie recipes are sure to impress!
FAQ: Everything You Need to Know About Goumi Pie Recipes
To help you perfect your goumi pie recipe, here are answers to some of the most frequently asked questions.
1. What does a goumi berry taste like?
Goumi berries have a unique flavor that blends tartness with a slight sweetness. The goumi berry taste is often described as a cross between a sour cherry and a raspberry, with a juicy, refreshing bite.
2. Can I use frozen goumi berries for this pie?
Yes! You can use frozen goumi berries in your pie recipe. Just make sure to thaw them first and drain any excess liquid to avoid a soggy crust. Frozen berries may release more juice, so you might need to adjust the cornstarch for the filling.
3. How can I store goumi pie?
After baking, let the pie cool to room temperature before covering it.Keep your pie refrigerated for freshness, storing it for up to five days. If you want to keep it longer, wrap the pie tightly and freeze it for up to 3 months. Reheat in the oven at 325°F (160°C) for about 15 minutes before serving.
4. Can I substitute goumi berries with other fruits?
While goumi berries offer a unique flavor, you can experiment with other berries like raspberries, blackberries, or even cherries if goumi berries are unavailable. Keep in mind that the flavor will change, but these alternatives will still create a delicious pie.
5. How do I make the crust extra flaky?
For an extra flaky crust, use cold butter and keep the dough as chilled as possible. You can also incorporate some vinegar or vodka into the dough to inhibit gluten formation, ensuring a tender and flaky result.
6. What is the best way to serve goumi pie?
Goumi pie is perfect when served with vanilla ice cream or whipped cream. For a more festive touch, pair it with a sweet dessert wine or a cup of aromatic tea.


