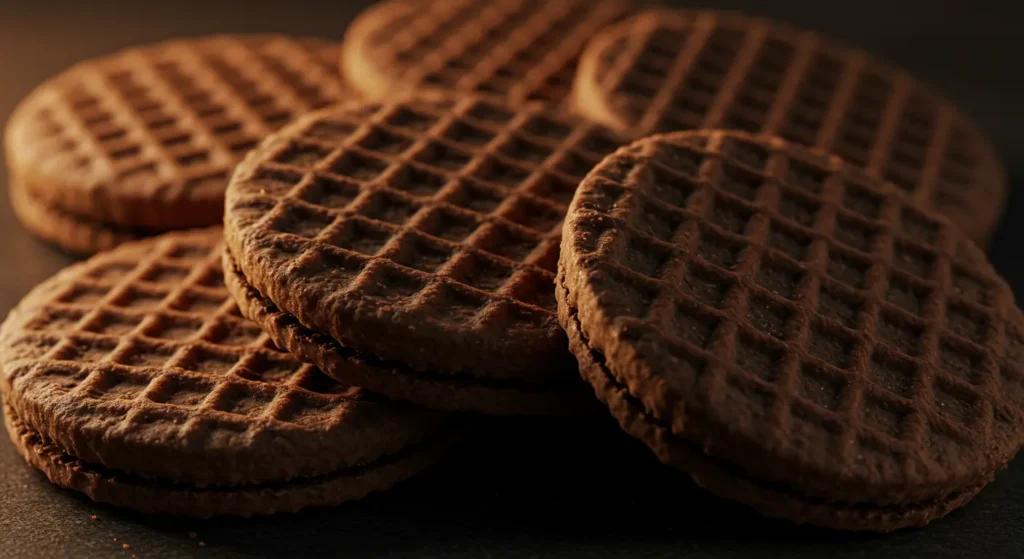
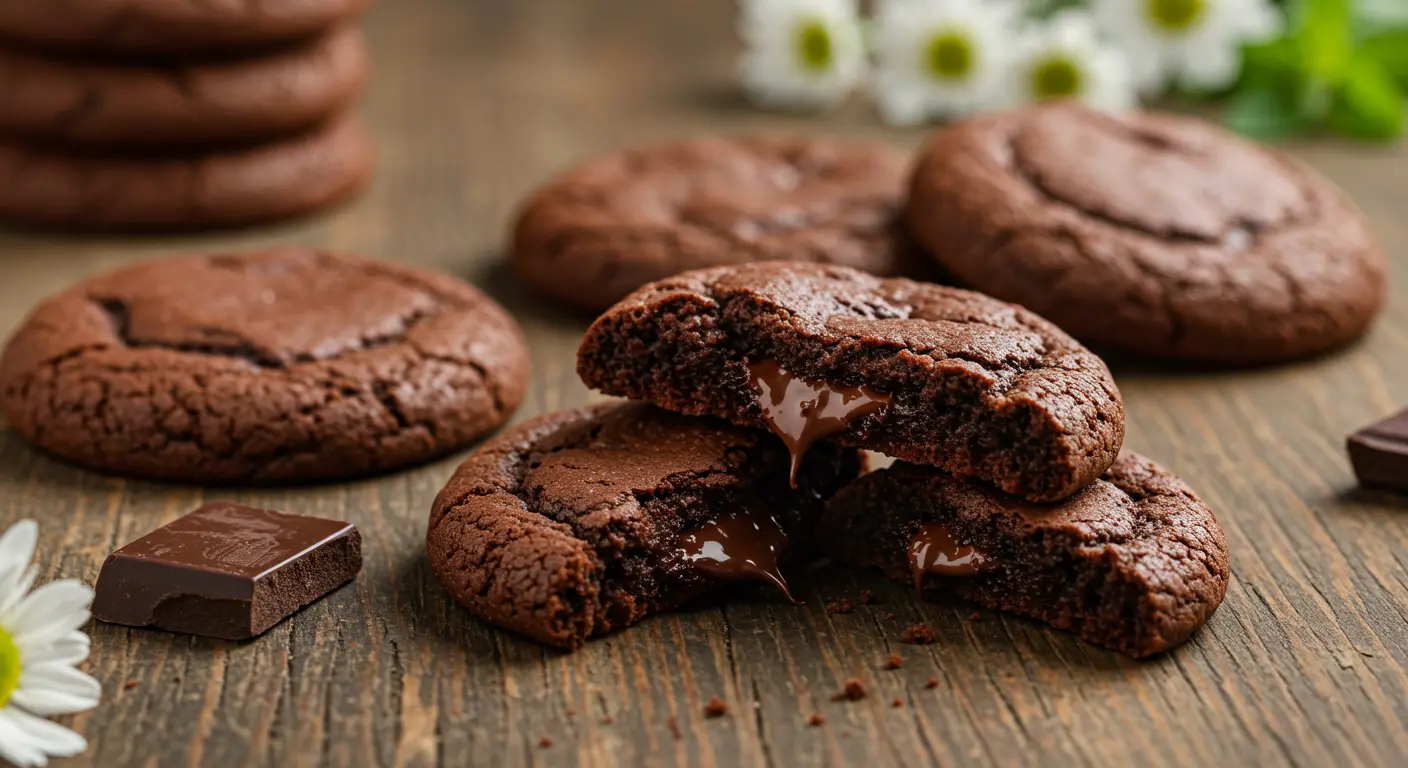
There’s something undeniably satisfying about biting into a perfectly crisp and chocolatey cookie—and these chocolate wafer cookies deliver just that. Thin, crunchy, and rich with cocoa flavor, these cookies are a timeless treat that’s perfect for snacking, gifting, or pairing with your favorite dessert. Whether you’re reminiscing about store-bought Nabisco chocolate wafer cookies or looking to make your own homemade version, this recipe is sure to impress.
What makes these chocolate wafers cookies so irresistible is their simplicity. With just a few pantry staples and minimal effort, you can whip up a batch of cookies that rival your childhood favorites. The deep chocolate flavor and delicate crunch make these chocolate wafer cookie treats a versatile addition to any occasion. Best of all, they come together in minutes, leaving you more time to enjoy the fruits of your labor.
Whether you’re serving them alongside a glass of milk, crumbling them over ice cream, or simply enjoying them straight from the jar, these chocolate wafer cookies are guaranteed to become a household favorite. Ready to bake up a batch of chocolatey perfection? Let’s dive in!
Quick Recipe Card
Prep Time: 15 minutes
Cook Time: 10-12 minutes per batch
Total Time: 30-35 minutes
Difficulty: Easy
Servings: 24 cookies
Nutritional Information (per cookie):
Calories: 80 | Fat: 4g | Carbs: 10g | Sugar: 6g | Protein: 1g
Key Equipment:
- Mixing bowls
- Whisk and spatula
- Rolling pin
- Cookie cutters or knife (optional, for shaping)
- Baking sheets
- Parchment paper or silicone baking mats
Ingredients:
- 1 cup all-purpose flour
- ½ cup unsweetened cocoa powder
- ½ cup granulated sugar
- ¼ tsp salt
- ½ cup unsalted butter, softened
- 1 large egg
- 1 tsp pure vanilla extract
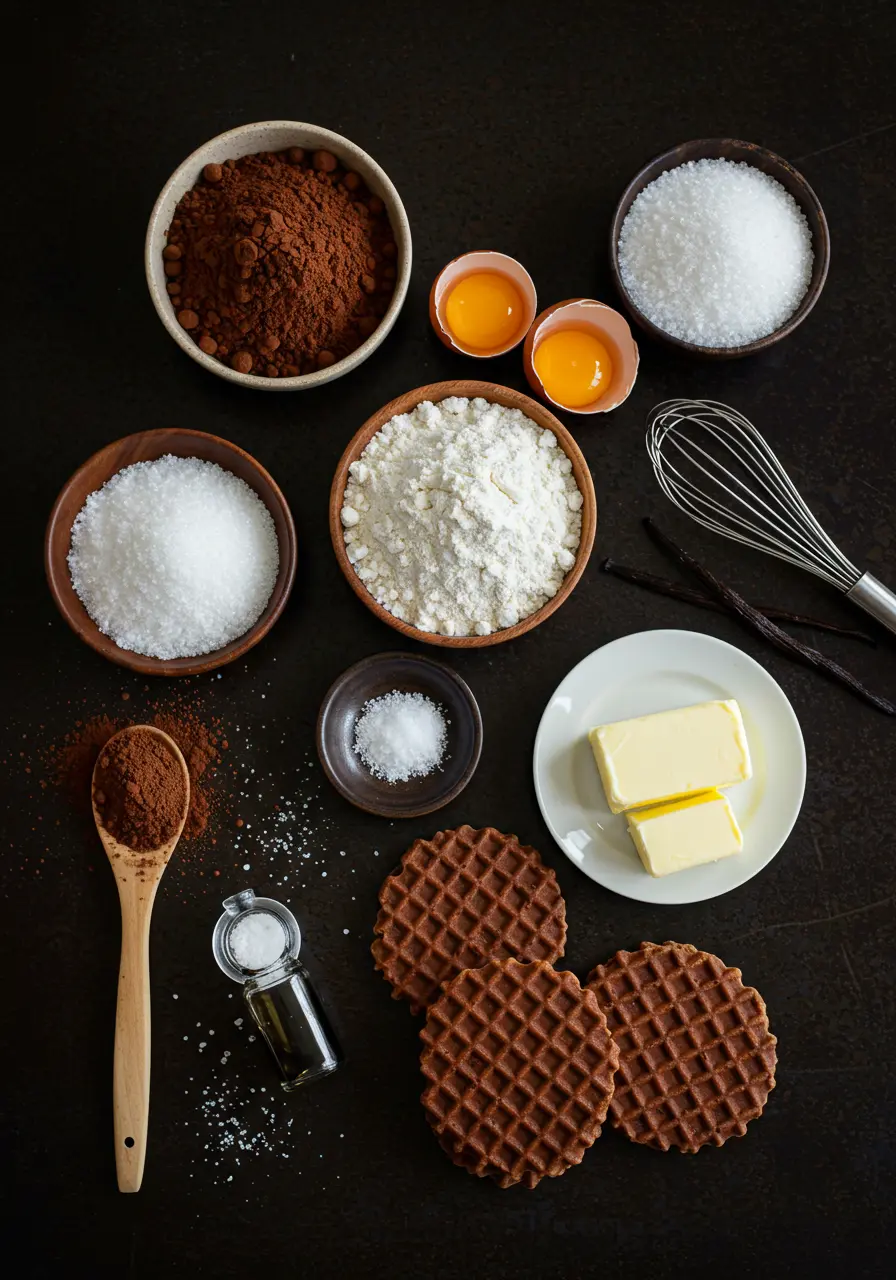
This quick guide ensures you can whip up a batch of chocolate wafer cookies effortlessly. With these simple ingredients, you’re ready to bake some of the best chocolate wafers cookies around!
Step-by-Step Instructions
Baking chocolate wafer cookies is as easy as mixing, shaping, and baking. Follow these five simple steps to create cookies that are rich, crunchy, and full of cocoa flavor.
Step 1: Preheat and Prepare
Set your oven to preheat at 350°F (175°C) and prepare your baking sheets by lining them with parchment paper or silicone mats. This ensures even baking and prevents sticking. If you’re aiming for perfectly thin chocolate wafers cookies , take a moment to measure your ingredients carefully—precision is key to achieving the ideal texture.
Step 2: Mix the Dry Ingredients
In a medium bowl, whisk together the flour, cocoa powder, sugar, and salt until well combined. Sifting the cocoa powder helps avoid lumps and ensures a smooth dough. This step is crucial for creating those rich, Nabisco chocolate wafer cookies -inspired treats that everyone loves.
Step 3: Combine the Wet Ingredients
In a large mixing bowl, beat the softened butter until it reaches a smooth consistency. Incorporate the egg and vanilla extract, beating until everything is well combined. Slowly incorporate the dry ingredients into the wet mixture, stirring only until everything is combined. Avoid overmixing, as this can result in tough cookies; stop as soon as the dough forms.
Step 4: Shape the Cookies
Roll the dough out on a lightly floured surface to about ⅛-inch thickness. Use cookie cutters or a knife to cut the dough into rectangles or squares, mimicking the classic chocolate wafer cookie shape. Transfer the shapes to the prepared baking sheets, spacing them about 1 inch apart to allow for slight spreading.
Step 5: Bake to Perfection
Bake the cookies for 10-12 minutes, or until the edges are firm while the centers still appear slightly soft—they will firm up as they cool. Monitor them closely to prevent overbaking, which can result in excessive crispness. Let the cookies cool on the baking sheet for 5 minutes before moving them to a wire rack. Cooling is essential for achieving the ideal texture of these chocolate wafer cookies.
Expert Tips & Troubleshooting
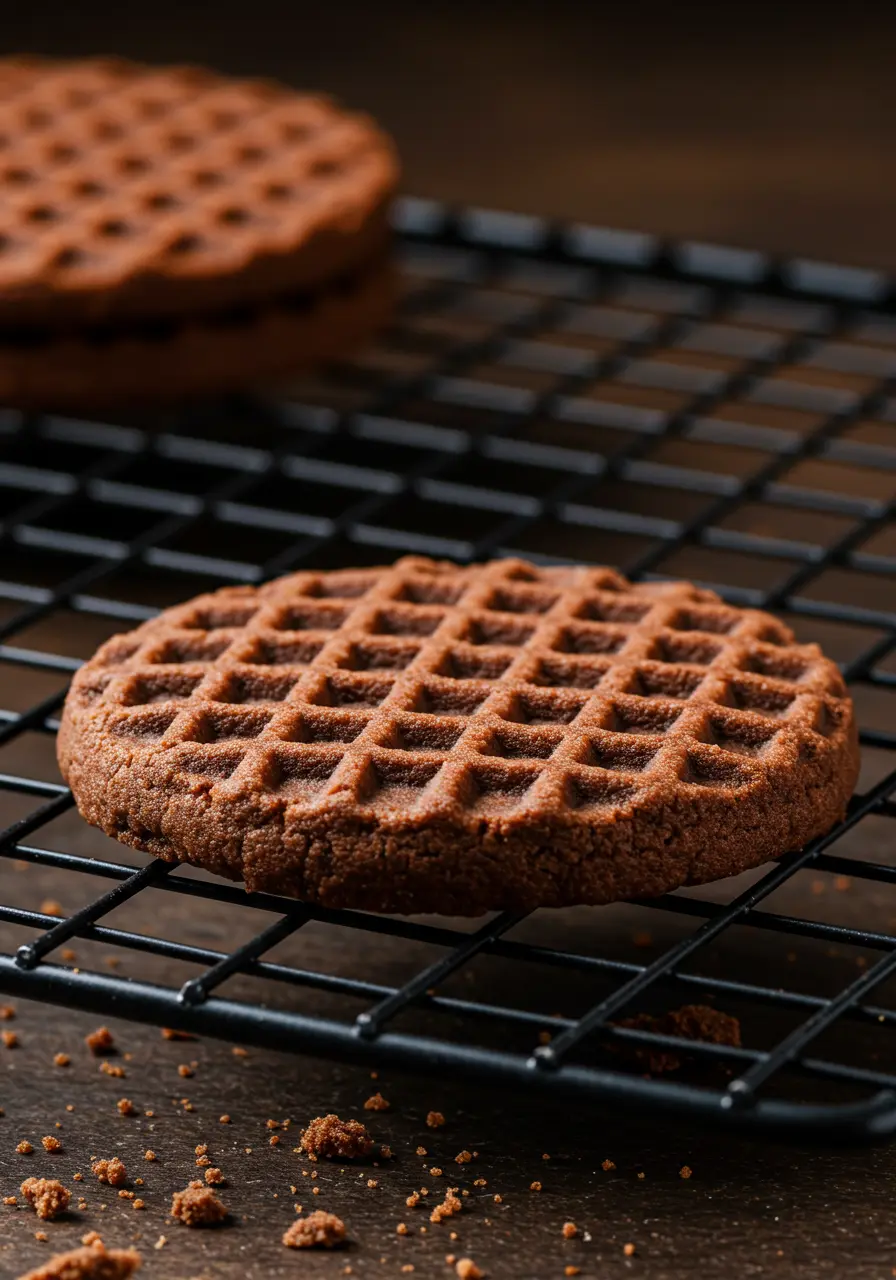
Baking chocolate wafer cookies can sometimes present unique challenges, but with these expert tips, you’ll be well-equipped to handle any hiccups along the way.
Professional Baker Insights:
- Use High-Quality Cocoa Powder: Opt for premium unsweetened cocoa powder for the best flavor and texture. Dutch-processed cocoa powder adds a deeper, richer chocolate taste.
- Chill the Dough (Optional): If your dough feels too soft or sticky, chill it in the refrigerator for 15-20 minutes before rolling and cutting. This helps prevent excessive spreading during baking.
- Roll Thin for Crispiness: To achieve the signature crunch of chocolate wafers cookies , roll the dough as thin as possible—about ⅛ inch. Thicker cookies will be softer rather than crisp.
Troubleshooting Common Issues:
- Cookies Spread Too Much: This usually happens if the butter is too warm or if there’s excess sugar. Make sure your softened butter has cooled slightly before mixing, and measure your ingredients accurately.
- Cookies Are Too Dry: Overmixing or overbaking are common culprits. Mix until just combined, and remove the cookies from the oven when the edges are set but the centers still look slightly underbaked—they’ll firm up as they cool.
- Lack of Flavor: If your cookies taste bland, consider adding a pinch of espresso powder to enhance the chocolate flavor. You can also increase the vanilla extract or use high-quality cocoa powder for a richer taste.
Make-Ahead Instructions:
You can prepare the dough up to 3 days in advance and store it in the refrigerator. Simply bring it to room temperature before rolling and baking. Alternatively, freeze pre-cut dough shapes for up to 3 months—just add an extra minute or two to the baking time.
Storage Guidelines:
Store cooled cookies in an airtight container at room temperature for up to 1 week. For longer storage, freeze them in a single layer before transferring to a freezer-safe bag. Reheat briefly in the oven for that fresh-baked feel.
With these tips, you’ll master the art of baking chocolate wafer cookies like a pro!
Variations & Customizations
One of the best things about this chocolate wafer cookies recipe is its versatility. Whether you’re catering to dietary restrictions or looking to experiment with flavors, these customizations will keep your baking exciting and unique.
Seasonal Adaptations:
- Spring/Summer: Add a sprinkle of sea salt on top before baking for a sweet-and-salty twist that pairs beautifully with fresh fruit.
- Fall/Winter: Incorporate warming spices like cinnamon or nutmeg into the dough for a cozy, festive flavor. You can also drizzle melted white chocolate over the cooled cookies for a wintery touch.
Dietary Modifications:
- Gluten-Free Option: Substitute the all-purpose flour with a gluten-free flour blend. These chocolate wafers cookies will still have the same rich flavor and crisp texture without the gluten.
- Dairy-Free Option: Use dairy-free butter to make these cookies completely plant-based. This ensures everyone can enjoy them.
Flavor Variations:
- Peanut Butter Swirl: Swirl peanut butter into the dough before baking for a rich, nutty twist.
- Mocha Delight: Add 1-2 teaspoons of instant coffee powder or espresso powder to the dough for a mocha-flavored cookie that coffee lovers will adore.
- White Chocolate and Raspberry: Fold in white chocolate chips or chopped dried raspberries for a fruity twist.
Decoration Ideas:
- Sprinkle coarse sea salt or crushed nuts on top before baking for added texture and visual appeal.
- Drizzle melted dark or white chocolate over the cooled cookies for a gourmet touch.
- Serve slices topped with a dollop of whipped cream or a scoop of vanilla ice cream for an indulgent dessert experience.
With these variations, your chocolate wafer cookies can suit any occasion, season, or dietary need—ensuring there’s something for everyone to enjoy!
Serving & Presentation
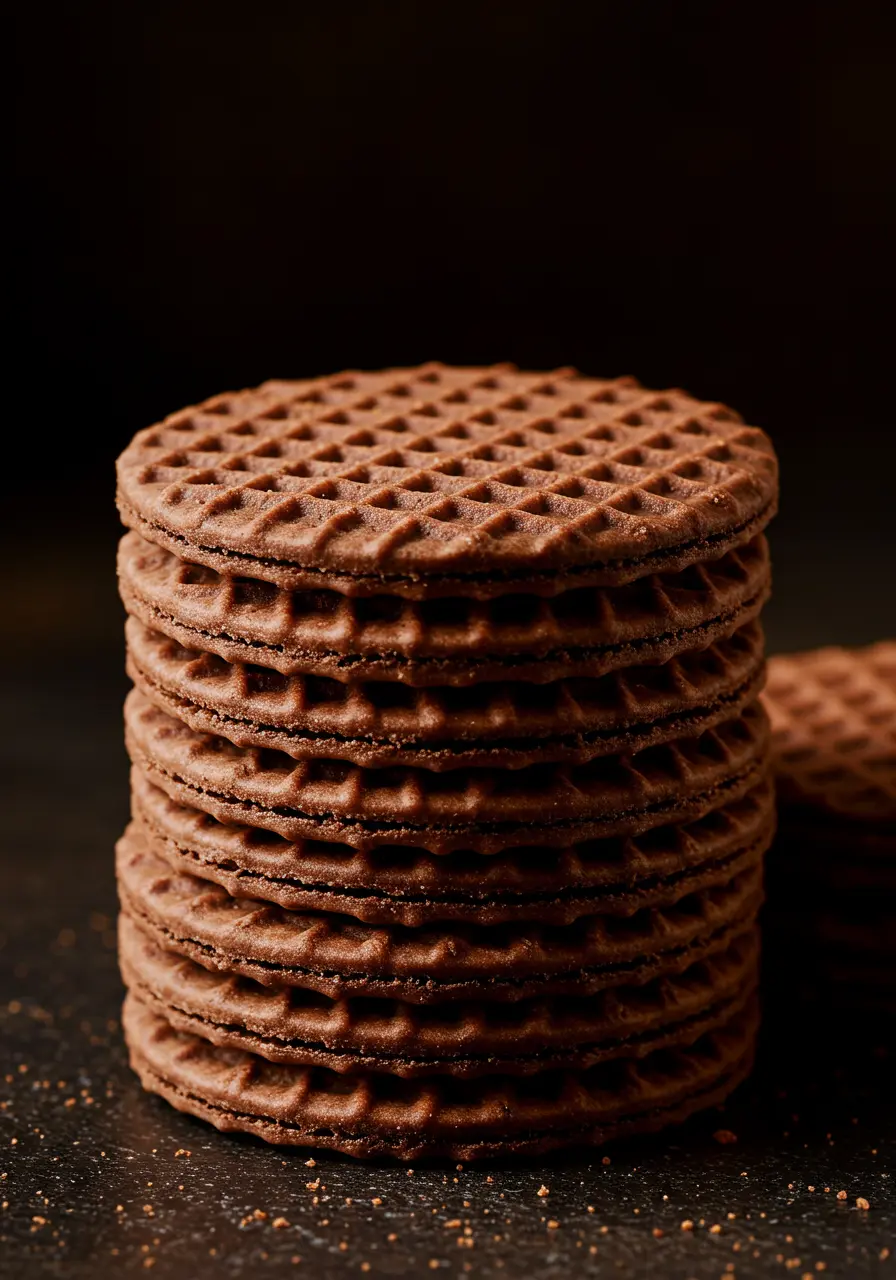
The way you serve and present your chocolate wafer cookies can transform them from a simple treat into a show-stopping dessert. Whether you’re enjoying them at home or bringing them to a gathering, here are some creative ideas to make them shine.
Plating Suggestions:
- Stacked Style: Arrange the cookies in a neat stack on a plate or cake stand. This creates height and visual appeal, perfect for dessert tables or gatherings.
- Individual Servings: Place one or two cookies on small dessert plates, accompanied by a dollop of whipped cream or a scoop of vanilla ice cream for an indulgent touch.
- Rustic Charm: Scatter the cookies on a wooden board or slate platter alongside fresh berries or a dusting of powdered sugar. The contrast of colors adds a vibrant, natural look.
Accompaniment Recommendations:
- Pair the cookies with a warm cup of coffee, tea, or hot cocoa for a cozy treat.
- Serve them alongside a glass of cold milk (dairy or plant-based) for a nostalgic nod to classic cookie-and-milk pairings.
- For a more decadent option, drizzle melted chocolate or caramel sauce over the cookies or serve them with a side of chocolate dipping sauce.
Special Occasion Presentations:
- Gift Idea: Package the cookies in decorative boxes or tins tied with ribbon for holiday gifts or party favors. Include a handwritten note with the recipe for a personal touch.
- Themed Decor: Match the cookie decorations to the theme of your event—think red and green sprinkles for Christmas, pastel drizzles for Easter, or heart-shaped cookies for Valentine’s Day.
- Dessert Bar Highlight: Place the cookies in a prominent spot on your dessert table, surrounded by complementary treats like brownies, cupcakes, or fruit skewers.
No matter how you choose to serve them, these chocolate wafer cookies are sure to be a crowd-pleaser. Their rich chocolate flavor, crisp texture, and endless customization options make them a versatile addition to any setting.
Conclusion
There you have it—the ultimate guide to baking chocolate wafer cookies , a rich and indulgent treat that’s perfect for any occasion. With their crisp texture, deep cocoa flavor, and endless customization options, these cookies are a chocolate lover’s dream come true. Whether you’re whipping up a batch for a special gathering, gifting them to loved ones, or simply treating yourself, this recipe is sure to become a staple in your kitchen.
What makes these chocolate wafers cookies so special is their balance of simplicity and flavor. Using high-quality cocoa powder ensures a deep, decadent taste that’s hard to resist. Best of all, they’re easy to make, even for beginner bakers. So grab your ingredients, preheat that oven, and get ready to bake cookies that will have everyone asking for seconds.
Happy baking, and may every bite bring joy to your day—just like a perfectly crisp, chocolatey cookie should!
FAQ Section
1. Can I use all dark chocolate or all milk chocolate instead of cocoa powder?
Yes, you can melt dark or milk chocolate and mix it into the dough for a richer flavor. However, using cocoa powder ensures the classic crisp texture of chocolate wafer cookies , so it’s recommended for authenticity.
2. What can I substitute for cocoa powder?
If you don’t have cocoa powder, you can use an equal amount of melted dark chocolate (about ½ cup) mixed into the dough. Keep in mind this will slightly alter the texture but still deliver rich chocolate flavor.
3. Why are my cookies too flat?
Flat cookies often result from warm butter or overmixing the dough. Make sure your softened butter has cooled slightly before mixing, and avoid overmixing to maintain structure.
4. Is it possible to freeze the dough or the baked cookies?
Absolutely! You can freeze the dough in pre-portioned shapes for up to 3 months—just bake them straight from frozen, adding an extra minute or two to the baking time. Baked cookies can also be stored in an airtight container in the freezer for up to 3 months.
5. How do I store leftovers?
Keep the cooled cookies in an airtight container at room temperature for up to 1 week. For extended storage, freeze them in a single layer before placing them in a freezer-safe bag. To enjoy a fresh-baked taste, reheat them briefly in the oven.
6. Can I make these cookies gluten-free?
Yes! Substitute the all-purpose flour with a gluten-free flour blend. These chocolate wafers cookies will still have the same rich flavor and crisp texture without the gluten.
7. What toppings pair well with these cookies?
These chocolate wafer cookies pair beautifully with sea salt, crushed nuts, sprinkles, or a drizzle of caramel or white chocolate. Get creative and let your taste buds guide you!

